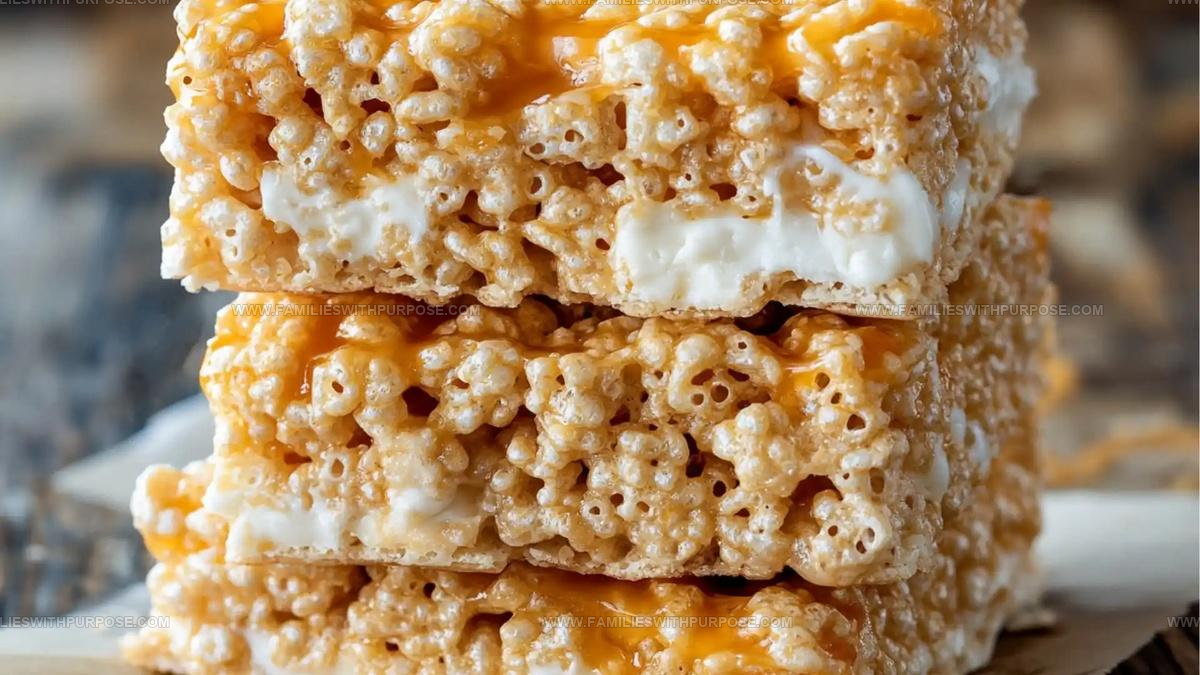
Dulce De Leche Rice Krispie Recipe With Brown Butter Swirl
Brown Butter Dulce de Leche Rice Krispie Recipe turns a childhood favorite into something far more sophisticated and utterly addictive.
Rich caramel notes meet nutty, toasted flavors in every crispy, chewy bite that feels both familiar and completely new.
Dessert doesn't need to be complicated to taste absolutely incredible, and what you have here proves it in the most delicious way possible.
Perfect for parties, potlucks, or just because it's Tuesday, it satisfies sweet cravings like nothing else.
The combination creates a depth of flavor that keeps everyone coming back for another square before the pan is even half empty.
Simple enough for busy weeknights but impressive enough to serve at gatherings, it strikes that rare balance between effortless and extraordinary.
Everyone who tries it will be asking for the recipe before they've finished their first piece.
What Sets Brown Butter Dulce de Leche Rice Krispies Apart
Brown Butter Dulce de Leche Rice Krispie Ingredients
Main Ingredients:Garnish Options:What Equipment Helps with Brown Butter Rice Krispie Treats
Brown Butter Rice Krispie Treats Preparation
Prepare the Pan
Grab a 9×13 inch baking dish and line it completely with parchment paper. Make sure the paper hangs over the sides a bit so you can easily lift the treats out later.
Brown the Butter
Drop 1/2 cup (1 stick) unsalted butter into a large saucepan over medium heat. Watch this carefully as the butter melts and transforms. Stir constantly for 4-5 minutes until the butter turns a deep golden color and smells wonderfully nutty. The kitchen will fill with an amazing aroma.
Create the Marshmallow Base
Turn the heat down to low and add these ingredients:
Stir everything together until the marshmallows melt completely and blend smoothly with the dulce de leche. The mixture should look creamy and rich.
Mix in the Cereal
Pull the pan off the heat and dump in 6 cups of Rice Krispies cereal. Gently fold the cereal into the sticky mixture, making sure every single piece gets coated with the sweet, buttery sauce.
Press into the Pan
Carefully transfer the mixture to your prepared baking dish. Use a spatula or slightly damp hands to spread the treats evenly across the pan. Press down gently to create a smooth, compact layer.
Let the Treats Set
Allow the Rice Krispie treats to cool at room temperature for 1 full hour. If you’re feeling impatient, pop the pan in the refrigerator for 20-30 minutes to speed up the setting process.
Add Final Touches
Lift the treats out of the pan using the parchment paper edges. Slice into squares and get creative with toppings. Drizzle some extra dulce de leche over the top and sprinkle with flaky sea salt for a fancy finish.
Serve and Enjoy
Cut into 16 perfect squares and watch them disappear in minutes. These treats are best enjoyed the same day but can be stored in an airtight container for up to 2 days.
Cooking Know-How for Brown Butter Treats
Flavor Options for Brown Butter Rice Krispies
How Can This Recipe Be Served Brown Butter Rice Krispies
Proper Storage For Brown Butter Rice Krispies
Simple Questions And Answers for Brown Butter Krispies
Can I use salted butter instead of unsalted?
Absolutely! Just reduce or skip the added salt to prevent the treats from becoming too salty. Salted butter works perfectly fine in this recipe.
What if my marshmallows aren’t melting smoothly?
Lower the heat and stir constantly. The residual warmth from the brown butter will help them melt evenly. Patience is key for a perfect, creamy texture.
How do I know when butter is perfectly browned?
Look for a golden color and a nutty aroma. Small brown specks will form at the bottom of the pan. These are flavor indicators that your butter is perfectly browned.
Can these be made gluten-free?
Replace standard Rice Krispies with a gluten-free crispy rice cereal. Most brands offer gluten-free versions that work wonderfully in this recipe.
Why does the recipe suggest using cooking spray?
Cooking spray prevents the sticky mixture from clinging to your hands and spatula. It makes pressing and spreading the treats much easier and less messy.
Can children help make this recipe?
Absolutely! Kids can help measure ingredients and fold the cereal. An adult should handle the hot butter and marshmallow stages for safety.

Brown Butter Dulce de Leche Rice Krispie Recipe
- Total Time: 1 hour 20 minutes
- Yield: 8 1x
Description
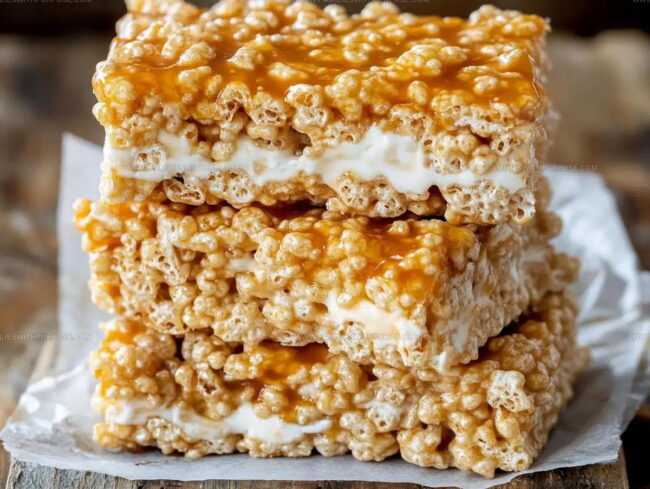
Creamy Dulce de Leche Brown Butter Rice Krispie Treats bring pure comfort to your kitchen, melding sweet caramel notes with crispy cereal in a delightful twist. Rich buttery layers and gooey dulce de leche create an addictive snack perfect for sharing with friends.
Ingredients
Primary Ingredients:
- 6 cups Rice Krispies cereal
- 1 bag (10 oz) mini marshmallows
- ½ cup (1 stick) unsalted butter
Supporting Ingredients:
- ½ cup dulce de leche
- ¼ teaspoon sea salt
Finishing Ingredients:
- Extra drizzle of dulce de leche
- Flaky sea salt for garnish
- Melted chocolate or white chocolate drizzle
Instructions
- Prepare a 9×13 inch baking pan by lining it with parchment paper, ensuring edges overhang for easy removal. Lightly spray exposed paper with non-stick cooking spray.
- Melt ½ cup (1 stick) unsalted butter in a large saucepan over medium heat. Continuously swirl and stir until butter transforms into a golden-brown color with a rich, nutty aroma, approximately 4-5 minutes.
- Reduce heat to low. Add entire 10-ounce bag of mini marshmallows, stirring constantly until they mostly dissolve and become creamy.
- Incorporate ½ cup dulce de leche and ¼ teaspoon sea salt into the marshmallow mixture. Stir until completely smooth and integrated.
- Remove pan from heat. Gently fold 6 cups Rice Krispies cereal into the warm mixture, ensuring every single piece gets thoroughly coated.
- Transfer the sticky mixture into prepared pan. Use a spatula or clean hands (sprayed with cooking spray) to press mixture evenly and firmly into pan’s corners.
- Allow treats to set at room temperature for 1 hour. For faster results, refrigerate for 30 minutes until firm.
- Cut into uniform squares. Drizzle with additional dulce de leche and sprinkle flaky sea salt on top for a gourmet touch.
Notes
- Browning butter takes patience, so watch the pan closely and stir constantly to prevent burning.
- When mixing marshmallows and dulce de leche, use low heat to keep the mixture smooth and prevent scorching.
- Spray your hands with cooking spray before pressing the mixture into the pan for easier handling without sticky mess.
- For gluten-free version, use a certified gluten-free crispy rice cereal and check that your dulce de leche is gluten-free.
- Prep Time: 10 minutes
- Cook Time: 10 minutes
- Category: Sautéed
- Method: Sautéing
- Cuisine: American
Nutrition
- Serving Size: 8
- Calories: 291
- Sugar: 21 g
- Sodium: 87 mg
- Fat: 11 g
- Saturated Fat: 7 g
- Unsaturated Fat: 4 g
- Trans Fat: 0.2 g
- Carbohydrates: 44 g
- Fiber: 1 g
- Protein: 3 g
- Cholesterol: 24 mg
Mason Carter
Founder
Expertise
Family Meal Routines, Simple One-pot Meals, Budget-friendly Cooking, Quick Dinner Planning, Batch Cooking Systems
Education
- Certificate: Culinary Arts
- Focus: Training in core cooking techniques, kitchen operations, and real food preparation through hands-on experience in professional-style kitchens.
Penn Foster Career School (Online)Mason is the founder of Families With Purpose and the heart behind its simple, family-focused recipes. Based in Greenville, South Carolina, he creates meals that fit into busy routines and bring people back to the table. He focuses on easy dinners, one-pot meals, budget-friendly cooking, and practical weekly meal planning. Mason has built a recipe collection shaped by real family life, with clear methods and repeatable meals that work on everyday schedules.