Chicken Onigiri Recipe With Savory Japanese Filling
Chicken onigiri has become a lunch box favorite across Japan and beyond for good reason.
Compact rice balls filled with savory chicken offer comfort food at its finest while staying portable enough for busy days.
The combination satisfies hunger without weighing you down, making it perfect for afternoon snacks or quick meals on the go.
Kids love holding food in fun shapes, and adults appreciate how simple it is to pack ahead for work or school.
No utensils are needed when you eat one, which adds to its convenience factor.
Every bite delivers familiar flavors wrapped in soft rice that sticks together just enough for easy handling.
Rolling up a few of such delicious parcels takes less time than you might expect but keeps everyone happily fed for hours.
What Makes Chicken Onigiri Special
Ingredients Used in Chicken Onigiri
Main Protein:Supporting Flavor Enhancers:Rice and Wrapper:Common Cooking Tools for Chicken Onigiri
Directions For Chicken Onigiri
Prepare Chicken Base
Heat a pan to medium heat (375°F) and add 1 teaspoon sesame oil. Drop in 3⅓ ounces ground chicken and cook until completely done, breaking it into small pieces while stirring.
Season Chicken Mixture
Pour these ingredients into the pan with the cooked chicken:
Stir everything together and cook for 2 minutes until the liquid reduces slightly.
Cool Chicken Filling
Transfer the chicken mixture to a plate and let it rest for 5 minutes so it becomes easier to handle when making onigiri.
Prep Rice Workspace
Grab a clean surface and keep a small bowl of water nearby. This helps prevent rice from sticking to your hands when shaping.
Form Rice Base
Scoop about ½ cup of cooked Japanese rice and flatten it gently in your palm. Create a small indent in the center.
Add Chicken Filling
Place a small spoonful of the cooled chicken mixture into the rice indent.
Shape Onigiri
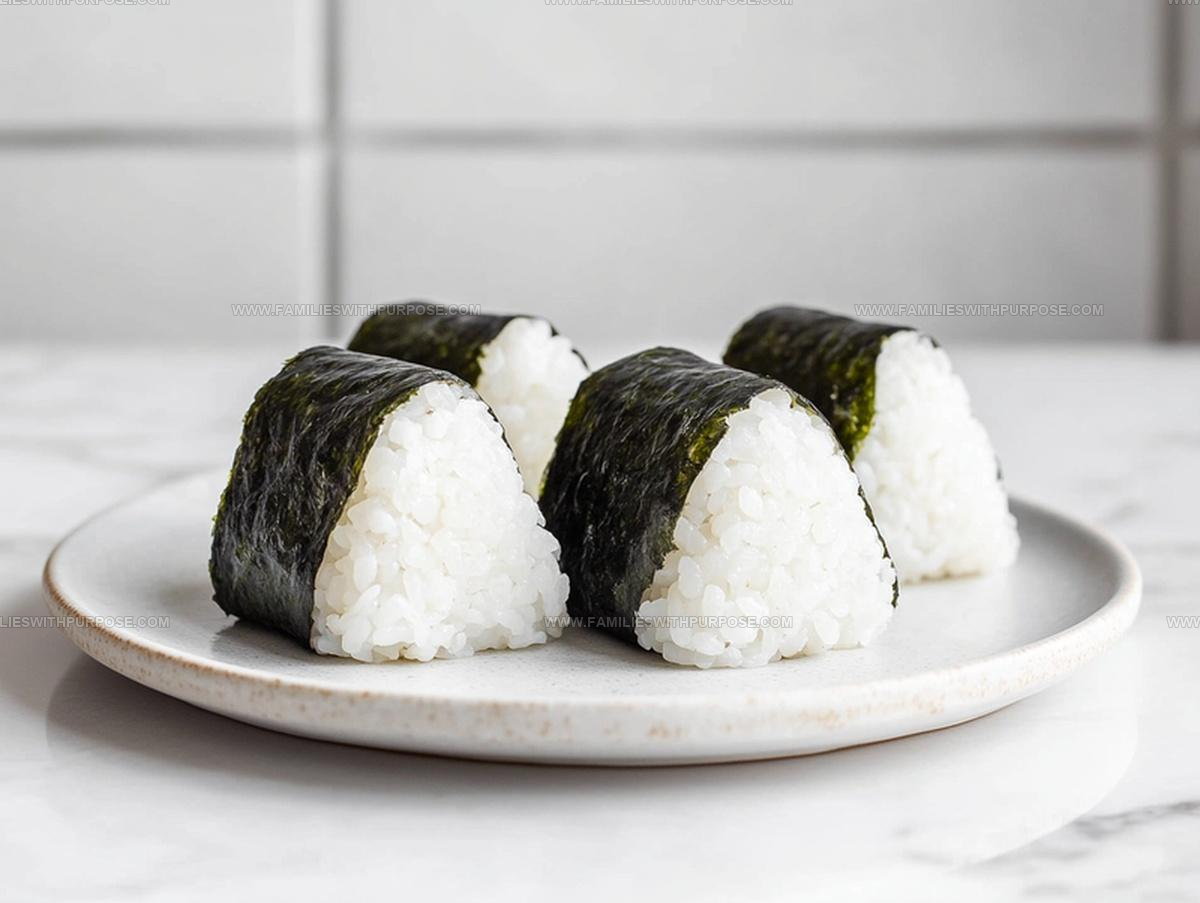
Carefully fold the rice around the chicken, molding it into a triangular shape. Press firmly to seal the filling inside.
Wrap with Nori
Wrap each onigiri with a strip of nori seaweed, which helps keep the shape and adds a nice flavor boost.
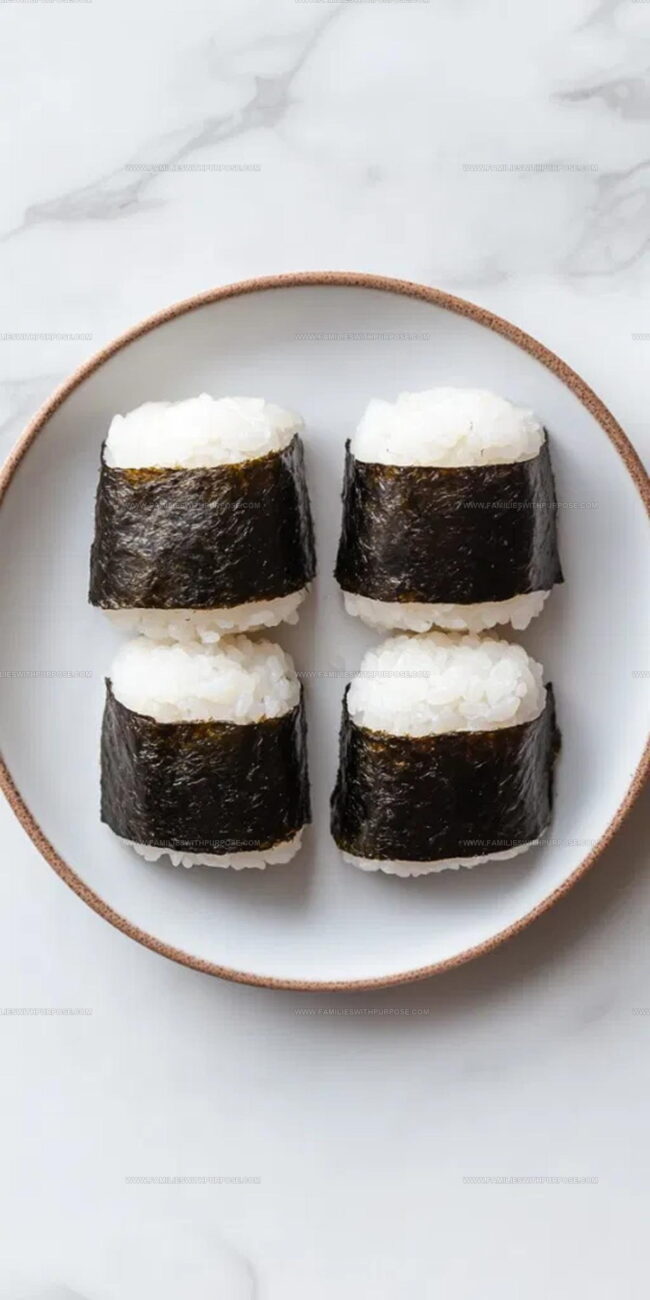
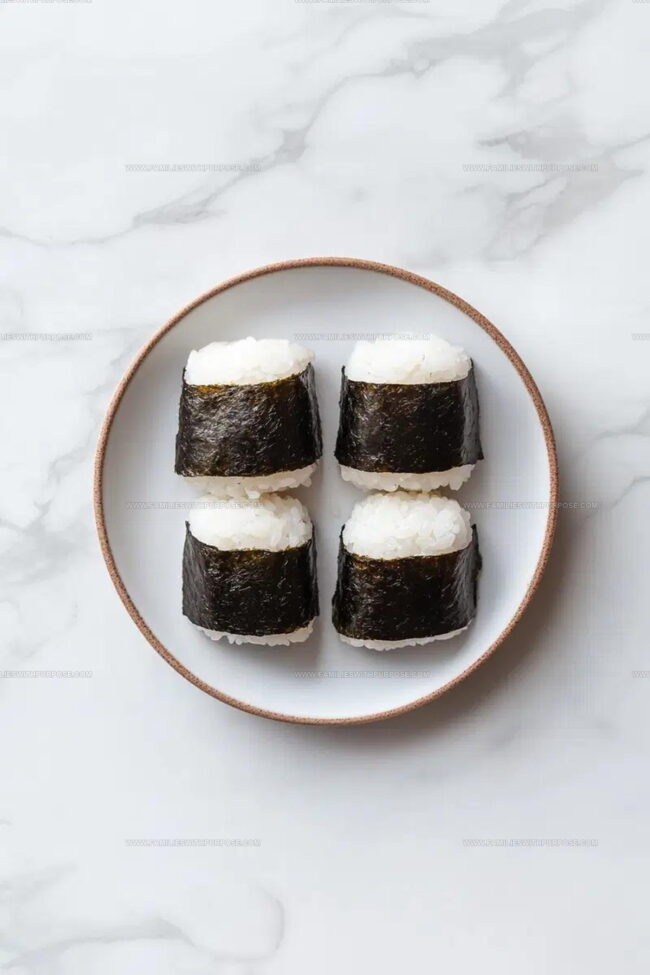
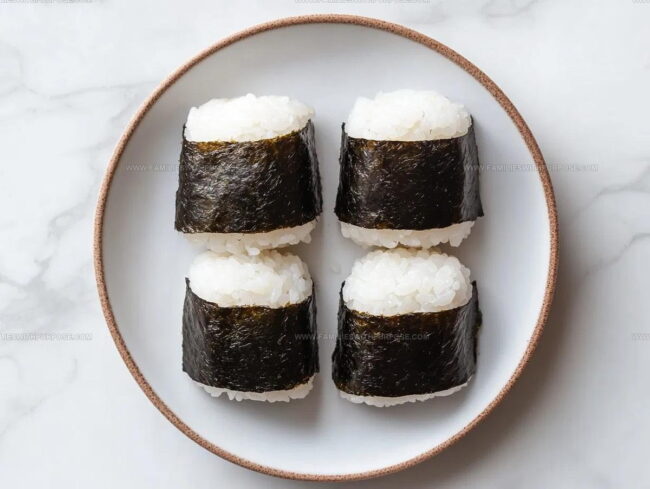
Serve and Enjoy
Arrange the onigiri on a plate. They’re best enjoyed immediately but can be stored in the refrigerator for a few hours if needed.
Tried-And-True Notes for Chicken Onigiri
Flexible Options for Chicken Onigiri
Simple Serving Ideas for Chicken Onigiri
Best Way To Store Chicken Onigiri
Chicken Onigiri Answers To Common Questions
Can I use different types of meat?
Ground turkey or pork work perfectly as alternatives to chicken. Each meat brings a unique flavor profile that transforms the onigiri experience.
What if I cannot find tamari?
Regular soy sauce makes an excellent substitute. The key is maintaining that savory umami flavor in your filling.
Do I need special rice for onigiri?
Short-grain Japanese rice works best because it sticks together nicely. Avoid long-grain rice as it won’t hold the triangle shape properly.
How spicy can these onigiri become?
Adding a dash of sriracha or red pepper flakes to the chicken mixture creates a nice kick. Start with small amounts and adjust according to your heat preference.
Are these onigiri good for meal prep?
Absolutely! Wrap them individually in plastic wrap and store in the refrigerator for 2-3 days. They make fantastic grab-and-go lunches or snacks.
Can children help make these?
Absolutely – kids love shaping rice and can help with measuring ingredients. Just supervise during cooking and hot steps.

Chicken Onigiri Recipe
- Total Time: 20 minutes
- Yield: 4 1x
Description
Chicken Onigiri brings Japanese comfort right to your kitchen with simple ingredients and quick prep. Grab some rice, shape these delightful hand-held treats, and savor a tasty snack that transports you straight to Tokyo’s street food scene.
Ingredients
Main Ingredients:
- 4 cups cooked Japanese rice
- 3⅓ ounces ground chicken
Seasonings:
- 1 tablespoon tamari soy sauce
- 1 tablespoon sake or dry white wine
- 1 teaspoon sesame oil
- ½ teaspoon grated ginger
Garnish:
- 4 strips nori seaweed
Instructions
- Heat 1 teaspoon sesame oil in a skillet over medium-high heat. Add 3⅓ ounces ground chicken and cook for 5-7 minutes, breaking it into small pieces until completely browned.
- Pour 1 tablespoon tamari soy sauce, 1 tablespoon sake, and ½ teaspoon grated ginger into the pan. Stir and simmer for 2 minutes until the liquid reduces and coats the chicken.
- Transfer the chicken mixture to a plate and let it cool for 10 minutes at room temperature.
- Dampen your hands with water to prevent rice from sticking. Grab a handful of warm cooked rice, about ½ cup.
- Press the rice gently into a flat disc on your palm, creating a small indentation in the center.
- Spoon 1 tablespoon of cooled chicken filling into the rice’s center. Carefully fold the rice around the filling.
- Shape the rice into a compact triangle or round ball, ensuring the filling remains sealed inside.
- Wrap each onigiri with a single strip of nori seaweed, pressing the seaweed to adhere to the rice.
- Serve immediately or wrap individually in plastic wrap for later enjoyment.
Notes
- Wetted hands prevent rice from sticking when shaping onigiri, so keep a small bowl of water nearby for easy handling.
- Short-grain Japanese rice works best for holding together, but you can substitute with sushi rice if needed.
- Warm the chicken filling slightly before adding to rice to enhance flavor melding and make shaping easier.
- Store onigiri wrapped in plastic wrap or sealed container in refrigerator for up to 24 hours, but consume at room temperature for best taste and texture.
- Prep Time: 10 minutes
- Cook Time: 10 minutes
- Category: Sautéed
- Method: Sautéing
- Cuisine: Japanese
Nutrition
- Serving Size: 4
- Calories: 271 kcal
- Sugar: 0.4 g
- Sodium: 420 mg
- Fat: 6.5 g
- Saturated Fat: 1.1 g
- Unsaturated Fat: 4.8 g
- Trans Fat: 0 g
- Carbohydrates: 42 g
- Fiber: 1.2 g
- Protein: 10 g
- Cholesterol: 40 mg
Mason Carter
Founder
Expertise
Family Meal Routines, Simple One-pot Meals, Budget-friendly Cooking, Quick Dinner Planning, Batch Cooking Systems
Education
- Certificate: Culinary Arts
- Focus: Training in core cooking techniques, kitchen operations, and real food preparation through hands-on experience in professional-style kitchens.
Penn Foster Career School (Online)Mason is the founder of Families With Purpose and the heart behind its simple, family-focused recipes. Based in Greenville, South Carolina, he creates meals that fit into busy routines and bring people back to the table. He focuses on easy dinners, one-pot meals, budget-friendly cooking, and practical weekly meal planning. Mason has built a recipe collection shaped by real family life, with clear methods and repeatable meals that work on everyday schedules.