Mongolian Beef Recipe For Bold Asian-Style Dinners
Mongolian beef creates restaurant favorites right to your kitchen with bold, balanced flavors that satisfy every craving.
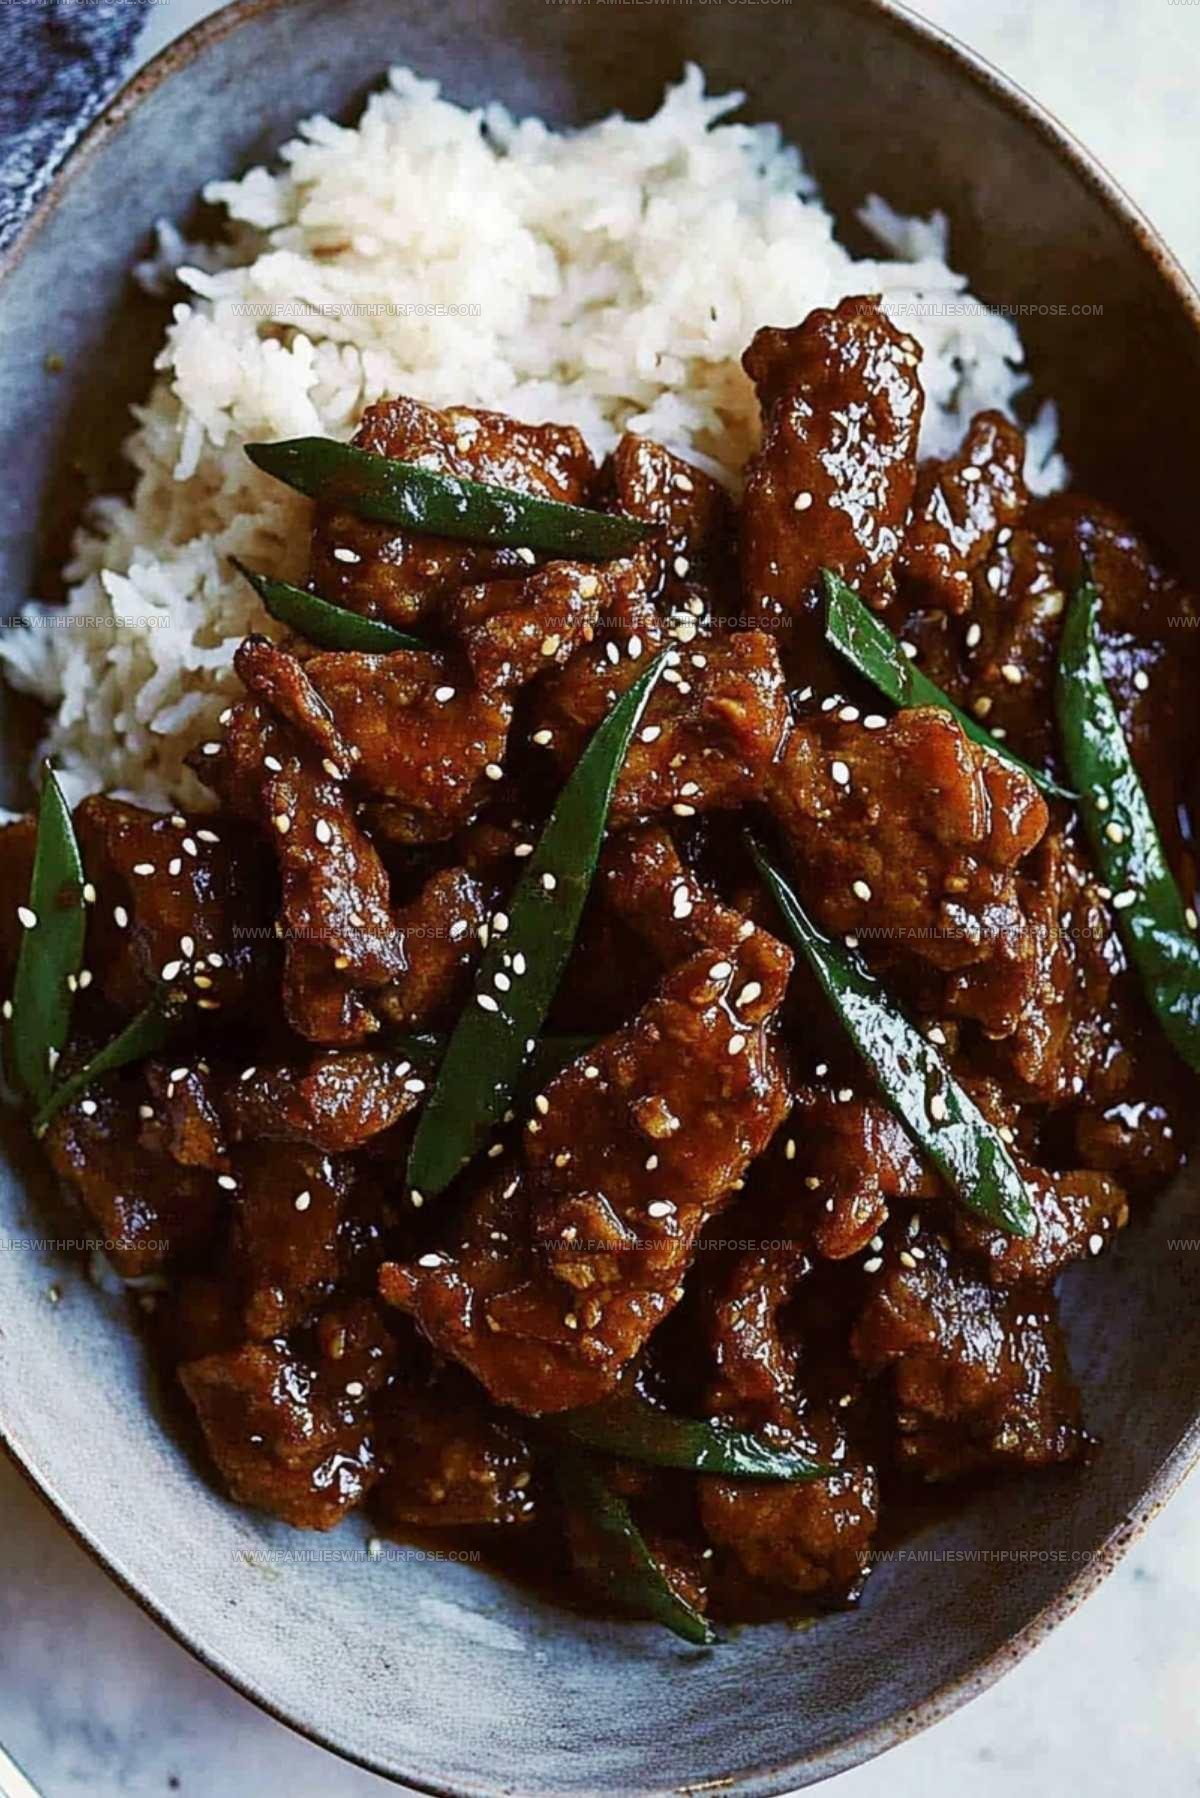
This dish combines tender strips of meat with a rich sauce that clings beautifully, making dinner feel special without complicated techniques.
Whether you need a weeknight meal or want to impress someone at the table, it delivers on both taste and simplicity.
The sauce strikes a perfect harmony between sweetness and depth, coating every bite in deliciousness.
You can have it on the table faster than ordering takeout, and it tastes even better fresh from the pan.
Pair it with rice or noodles for a complete meal that everyone asks for again.
Why Mongolian Beef Balances Sweet and Savory
Mongolian Beef Ingredients to Assemble
Main Protein:Sauce Ingredients:Cooking and Finishing Ingredients:Mongolian Beef Cooking Tools
Mongolian Beef Step-by-Step Directions
Chill and Slice Beef
Take your 1 lb flank steak and pop it in the freezer for 20 minutes to make slicing super easy. Cut the meat into paper-thin strips against the grain.
Dust each slice completely with cornstarch so they’ll get wonderfully crispy when cooking.
Heat the Pan
Grab a large skillet and warm 2 tablespoons vegetable oil over medium-high heat until it’s seriously hot. Spread beef slices in a single layer, working in batches so they brown perfectly. Cook each batch for 2-3 minutes, flipping once to get a gorgeous golden crust.
Create the Sauce Base
In the same pan, toss in your aromatic ingredients:
Sauté these for about 30 seconds until they’re fragrant and dancing around the pan.
Build the Flavor
Add your sauce ingredients and let them mingle:
Let everything simmer for 2-3 minutes until the sauce starts to thicken and look glossy.
Combine and Coat
Return all the crispy beef back into the pan. Toss everything together so each piece gets completely coated in that delicious sauce. Let it simmer another 2-3 minutes so the flavors really sink in.
Final Touch
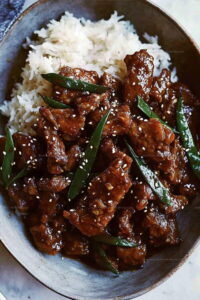
Sprinkle the top with 4-5 chopped green onions for a fresh, bright finish. Serve this amazingly tasty beef over steamed rice or your favorite noodles.
Strong Tips for Mongolian Beef
Best Mongolian Beef Variations
Serving Suggestions for Mongolian Beef
How to Store Mongolian Beef Without Toughening the Meat
Mongolian Beef FAQs Explained
Why freeze the beef before slicing?
Freezing makes the beef firmer, which helps you cut super thin, even slices without struggling or having the meat slip around on your cutting board.
Can regular flour replace cornstarch?
Cornstarch creates a crispier coating that standard flour can’t match. Stick with cornstarch for that perfect golden, slightly crunchy exterior.
What if my sauce seems too thin?
Keep simmering the sauce – it will naturally thicken as water evaporates and sugars concentrate. Stirring constantly helps this process.
How do I know when the beef is perfectly cooked?
The beef should look golden brown with crispy edges. Overcooking makes it tough, so aim for just 2-3 minutes per batch.
Do I need a special pan?
A wok works great, but a large skillet with high sides works perfectly fine. The key is having enough space to cook beef in single layers.
Can I make this recipe spicy?
Add red pepper flakes or sriracha to the sauce for extra heat. Start with a small amount and adjust to your preferred spice level.
Crispy Cornstarch Mongolian Beef Recipe
- Total Time: 29-32 minutes
- Yield: 3 to 4 1x
Description
Mongolian Beef brings bold Asian-inspired flavors right to your dinner table with tender strips of beef cooked in a tangy sauce that perfectly balances sweet and salty notes. Sizzling quickly in a hot pan, this restaurant-style dish comes together faster than takeout and tastes even better when served over steaming white rice.
Ingredients
Protein:
- 1 lb flank steak
- 2 tablespoons cornstarch
Sauce and Seasoning:
- 3 tablespoons soy sauce
- 2 tablespoons brown sugar
- 2 cloves garlic
- 1-inch piece of ginger
- 1 tablespoon sesame oil
Cooking and Garnish:
- 2 tablespoons vegetable oil
- 45 green onions
Instructions
- Freeze the 1 lb of flank steak for 20 minutes to make slicing easier. Cut the meat into ultra-thin strips against the grain using a sharp knife.
- Dust your meat slices thoroughly with 2 tablespoons cornstarch, ensuring each piece is completely and evenly coated.
- Heat 2 tablespoons vegetable oil in a large skillet over medium-high heat until the oil shimmers and looks slightly rippled.
- Cook your cornstarch-coated beef in small batches for 2-3 minutes per side, creating a golden crispy exterior. Transfer each batch to a plate when done.
- Reduce heat to medium and quickly sauté 2 minced garlic cloves and the 1-inch piece of minced ginger for 30 seconds, stirring constantly to prevent burning.
- Pour 3 tablespoons soy sauce and 2 tablespoons brown sugar into the pan, stirring to combine. Let the mixture simmer for 2-3 minutes until it starts to thicken.
- Return all crispy beef pieces to the pan, tossing gently to coat each slice with the glossy sauce. Simmer for an additional 2-3 minutes.
- Drizzle 1 tablespoon sesame oil over the beef for extra depth of flavor just before serving.
- Sprinkle 4-5 chopped green onions on top as a fresh, bright garnish. Serve immediately over steamed rice or noodles.
Notes
- Freeze the beef for about 20 minutes to make slicing easier and get those perfect thin cuts.
- Cornstarch is your best friend for creating that crispy exterior on the beef, so don’t skip this step.
- Use a very hot skillet or wok to get a nice golden sear on the beef without overcooking it.
- For a gluten-free version, swap regular soy sauce with tamari and ensure your cornstarch is certified gluten-free.
- Prep Time: 20 minutes
- Cook Time: 9-12 minutes
- Category: Sautéed
- Method: Sautéing
- Cuisine: Chinese-American
Nutrition
- Serving Size: 3 to 4
- Calories: 320 kcal
- Sugar: 8 g
- Sodium: 900 mg
- Fat: 18 g
- Saturated Fat: 3 g
- Unsaturated Fat: 14 g
- Trans Fat: 0 g
- Carbohydrates: 15 g
- Fiber: 1 g
- Protein: 28 g
- Cholesterol: 75 mg
Mason Carter
Founder
Expertise
Family Meal Routines, Simple One-pot Meals, Budget-friendly Cooking, Quick Dinner Planning, Batch Cooking Systems
Education
- Certificate: Culinary Arts
- Focus: Training in core cooking techniques, kitchen operations, and real food preparation through hands-on experience in professional-style kitchens.
Penn Foster Career School (Online)Mason is the founder of Families With Purpose and the heart behind its simple, family-focused recipes. Based in Greenville, South Carolina, he creates meals that fit into busy routines and bring people back to the table. He focuses on easy dinners, one-pot meals, budget-friendly cooking, and practical weekly meal planning. Mason has built a recipe collection shaped by real family life, with clear methods and repeatable meals that work on everyday schedules.