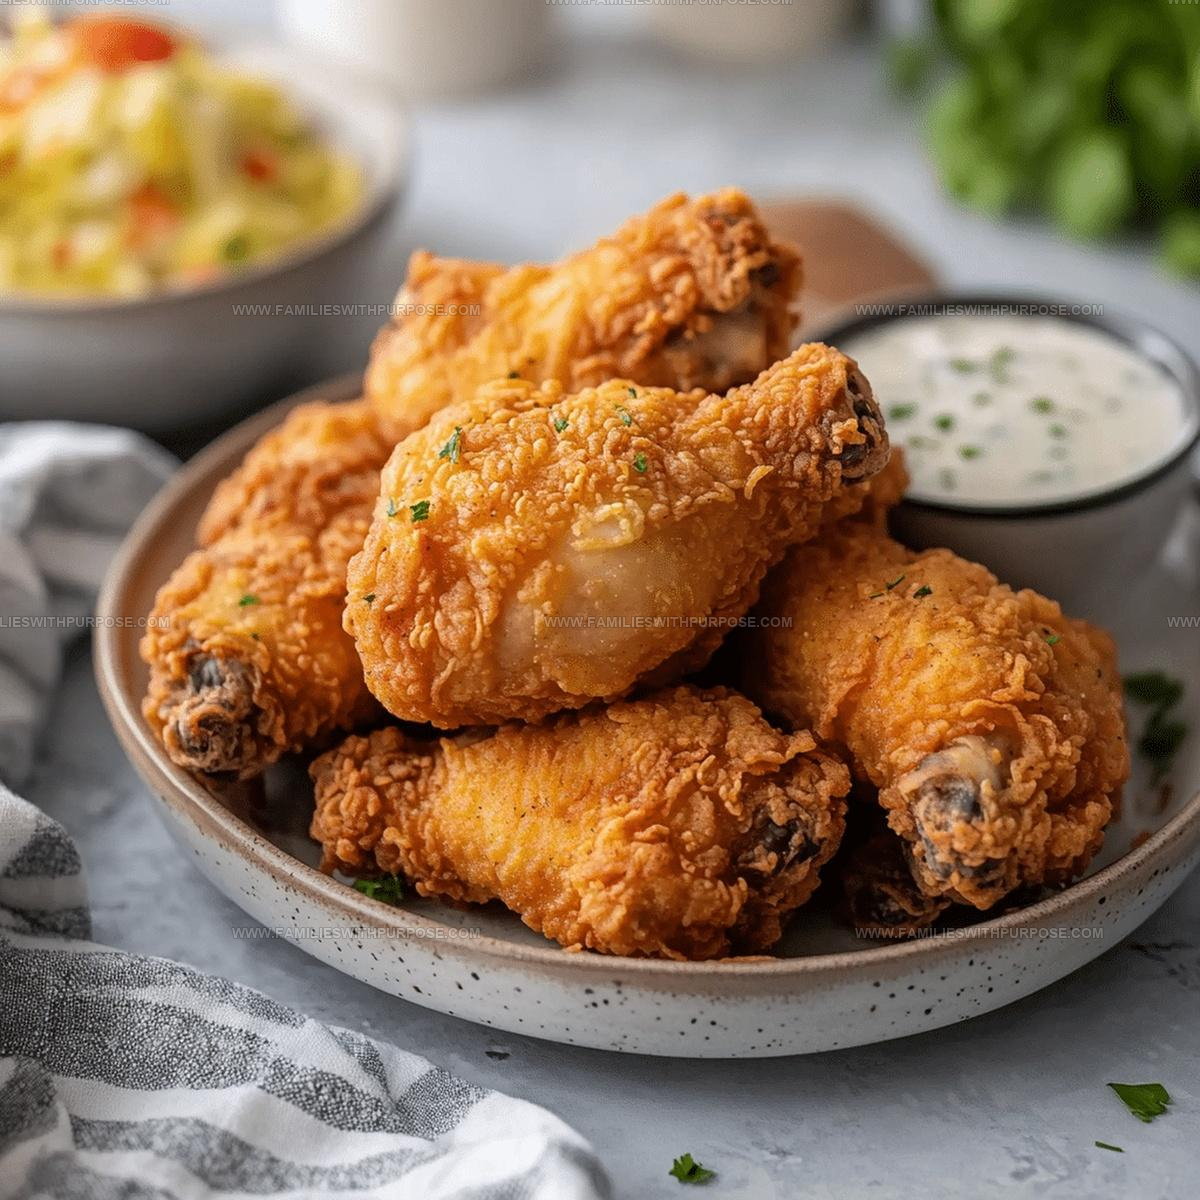
Golden Fried Chicken Recipe Perfect for Sunday Dinner
Crispy homemade fried chicken recipe lovers know there's something magical about food that delivers comfort and celebration in every bite.
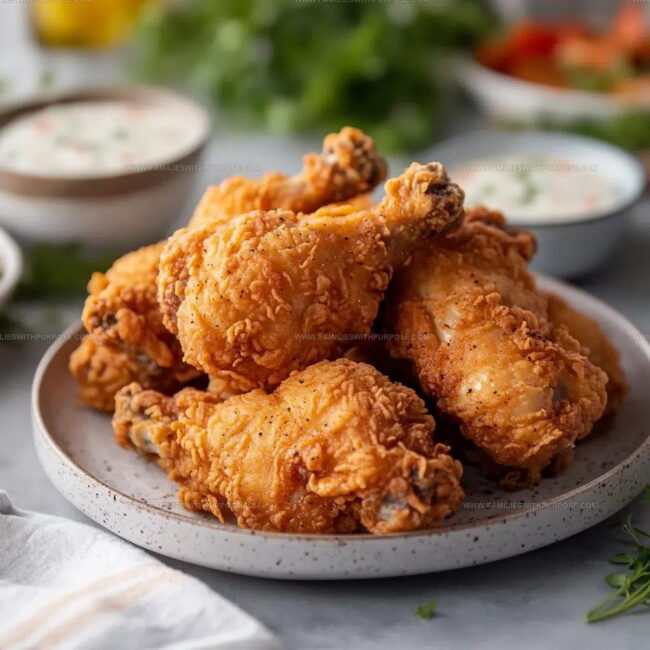
The golden crunch paired with juicy, flavorful meat creates a dish that brings people together around the table with smiles and satisfied appetites.
Whether you crave a satisfying weekend meal or need something special for gatherings, this classic favorite never disappoints.
Making it at home means you control the quality while enjoying the rewarding process of creating something truly delicious.
There's a certain pride that comes with serving platters of perfectly cooked chicken that friends and loved ones can't resist.
Plus, the aroma filling the kitchen while it cooks is almost as wonderful as the first crunchy bite.
Scroll down and start cooking this crowd-pleaser that belongs in every home cook's collection.
What Makes This Fried Chicken Without Buttermilk So Satisfying
Simple Ingredients For Homemade Fried Chicken Without Buttermilk
Chicken Pieces:Seasoning Base:Wet Mixture:Dry Coating:Frying Medium:Pots Thermometer And Tools For Fried Chicken Without Buttermilk
How to Make Fried Chicken Without Buttermilk
Season the Chicken
Grab your 1.5 lbs of bone-in, skin-on chicken pieces and pat them completely dry with paper towels. Sprinkle 1 teaspoon salt and ½ teaspoon black pepper across all sides of the chicken, making sure each piece gets an even coating.
Create the Wet Mixture
Take a shallow bowl and crack 2 large eggs into it. Pour in ½ cup whole milk and whisk them together until the mixture looks smooth and well combined.
Mix the Dry Coating
In a separate bowl, combine these dry ingredients:
Stir everything together so the spices are evenly distributed through the flour.
Coat the Chicken
Dunk each chicken piece into the egg mixture, letting excess drip off. Then roll it thoroughly in the seasoned flour, pressing firmly to create a solid coating. For extra crispiness, repeat the egg and flour process a second time.
Prepare for Frying
Pour enough vegetable or canola oil into a deep skillet to reach ½ inch deep. Heat the oil to exactly 350°F (175°C) using a kitchen thermometer.
Fry the Chicken
Carefully place chicken pieces into the hot oil. Fry for 7-8 minutes on each side until the outside turns a deep golden brown and the internal temperature reaches 165°F. Work in batches to avoid overcrowding the pan.
Rest and Serve
Transfer the fried chicken to a wire rack or paper towel-lined plate. Let it rest for 5 minutes so the juices redistribute. This helps keep the meat tender and prevents burning your mouth.
Cook’S Secrets For Juicy Fried Chicken Without Buttermilk
Seasoning Variations For Fried Chicken Without Buttermilk
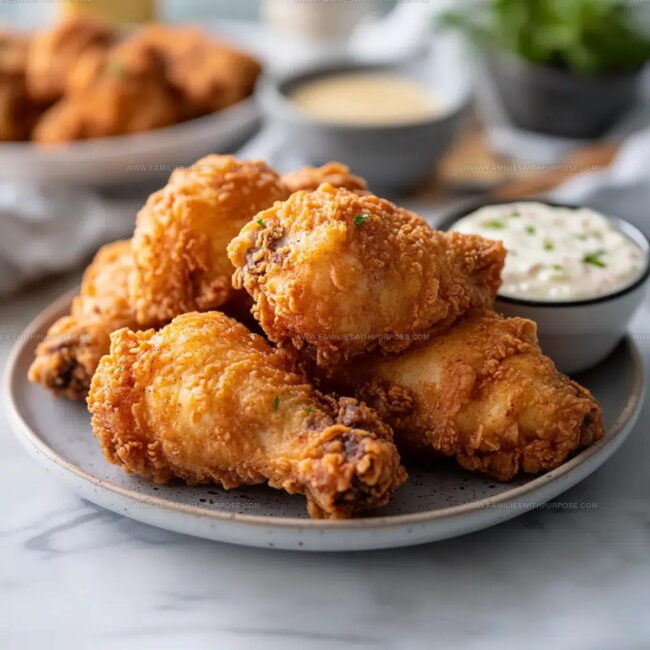
Serving Fried Chicken Without Buttermilk For Picnics Or Family Meals
Storage Advice For Leftover Fried Chicken Without Buttermilk
Fried Chicken Without Buttermilk: Your Most-Asked Tips
Can chicken pieces be marinated beforehand?
Definitely! Marinating adds fantastic flavor. Soak chicken in a mix of buttermilk, herbs, or your favorite seasonings for 2-4 hours before coating and frying.
What type of oil works best for frying?
Peanut or vegetable oil are perfect. They have high smoke points and deliver super crispy results. Ensure oil stays around 350°F for golden, crunchy exterior.
How do we check chicken is fully cooked?
A meat thermometer inserted into the thickest part should read 165°F. No pink meat and clear juices mean the chicken is safe and ready to devour.
Can chicken be prepared ahead of time?
Breaded chicken can sit for 30 minutes before frying, helping coating stick better. Just keep it chilled and covered until cooking time.
What makes the coating extra crispy?
Double dredging in wet and dry mixtures creates an incredible crunchy layer. Press flour firmly and shake off excess for best results.
Are boneless or bone-in pieces better?
Both work great! Boneless chicken cooks faster, while bone-in pieces tend to be more flavorful and juicy.

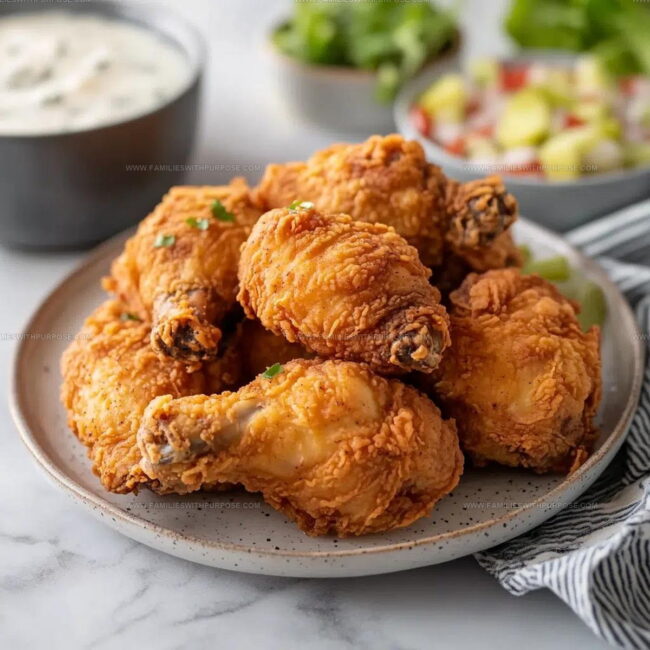
Crispy Homemade Fried Chicken Recipe
- Total Time: 31 minutes
- Yield: 4 1x
Description
Southern Fried Chicken delivers crispy, golden perfection straight from my grandmother’s cherished recipe. Crunchy seasoned coating and juicy meat make this classic comfort dish a total crowd-pleaser that disappears from the plate in seconds.
Ingredients
Main Ingredients:
- 1.5 lbs bone-in, skin-on chicken pieces
- 1.5 cups all-purpose flour
Seasoning Ingredients:
- 1.5 teaspoons salt
- 1 teaspoon black pepper
- 1 teaspoon paprika
- 1 teaspoon garlic powder
- 1 teaspoon onion powder
- 0.5 teaspoon cayenne pepper
Wet Ingredients:
- 2 large eggs
- 0.5 cup whole milk
- Vegetable or canola oil (enough to fill skillet 0.5 inches deep)
Instructions
- Pat 1.12 lbs of bone-in chicken pieces completely dry with clean paper towels. Generously sprinkle 1 teaspoon salt and ½ teaspoon black pepper across every surface of the chicken.
- Crack 2 large eggs into a shallow bowl. Pour ½ cup whole milk and whisk until completely blended and smooth.
- Grab a separate bowl and combine 1.5 cups all-purpose flour, 1 teaspoon paprika, 1 teaspoon garlic powder, 1 teaspoon onion powder, ½ teaspoon cayenne pepper, 1.5 teaspoons salt, and 1 teaspoon ground black pepper. Mix thoroughly.
- Submerge each chicken piece first into the egg-milk mixture, ensuring full coverage. Then roll through the seasoned flour mixture, pressing firmly to create a thick, even coating.
- Pour vegetable oil into a deep skillet, filling it ½ inch deep. Heat oil to exactly 350F (175C) using a cooking thermometer.
- Carefully lower chicken pieces into hot oil, working in batches to avoid overcrowding. Fry for 7-8 minutes on first side until golden brown.
- Flip chicken and cook additional 7-8 minutes on opposite side. Confirm internal temperature reaches 165F using a meat thermometer.
- Remove chicken from oil and place on wire rack or paper towel-lined plate. Allow 5 minutes resting time before serving to help retain crispiness.
Notes
- Pat chicken completely dry before seasoning to ensure maximum crispiness and better flour adherence.
- Double-dredging creates an extra-crunchy coating that seals in moisture and delivers incredible texture.
- Let chicken rest after frying to allow internal juices to redistribute, keeping the meat tender and preventing dry edges.
- For a gluten-free version, swap regular flour with rice flour or a gluten-free all-purpose blend, which produces equally crispy results.
- Prep Time: 15 minutes
- Cook Time: 16 minutes
- Category: Fried
- Method: Frying
- Cuisine: American
Nutrition
- Serving Size: 4
- Calories: 395 kcal
- Sugar: 1 g
- Sodium: 420 mg
- Fat: 22 g
- Saturated Fat: 5 g
- Unsaturated Fat: 15 g
- Trans Fat: 0.2 g
- Carbohydrates: 20 g
- Fiber: 1 g
- Protein: 30 g
- Cholesterol: 120 mg
Mason Carter
Founder
Expertise
Family Meal Routines, Simple One-pot Meals, Budget-friendly Cooking, Quick Dinner Planning, Batch Cooking Systems
Education
- Certificate: Culinary Arts
- Focus: Training in core cooking techniques, kitchen operations, and real food preparation through hands-on experience in professional-style kitchens.
Penn Foster Career School (Online)Mason is the founder of Families With Purpose and the heart behind its simple, family-focused recipes. Based in Greenville, South Carolina, he creates meals that fit into busy routines and bring people back to the table. He focuses on easy dinners, one-pot meals, budget-friendly cooking, and practical weekly meal planning. Mason has built a recipe collection shaped by real family life, with clear methods and repeatable meals that work on everyday schedules.