Crispy Fried Chicken Tenders Recipe Everyone Adores
Fried chicken tenders recipe collections always seem to bring out smiles at the dinner table, and it's no wonder why.
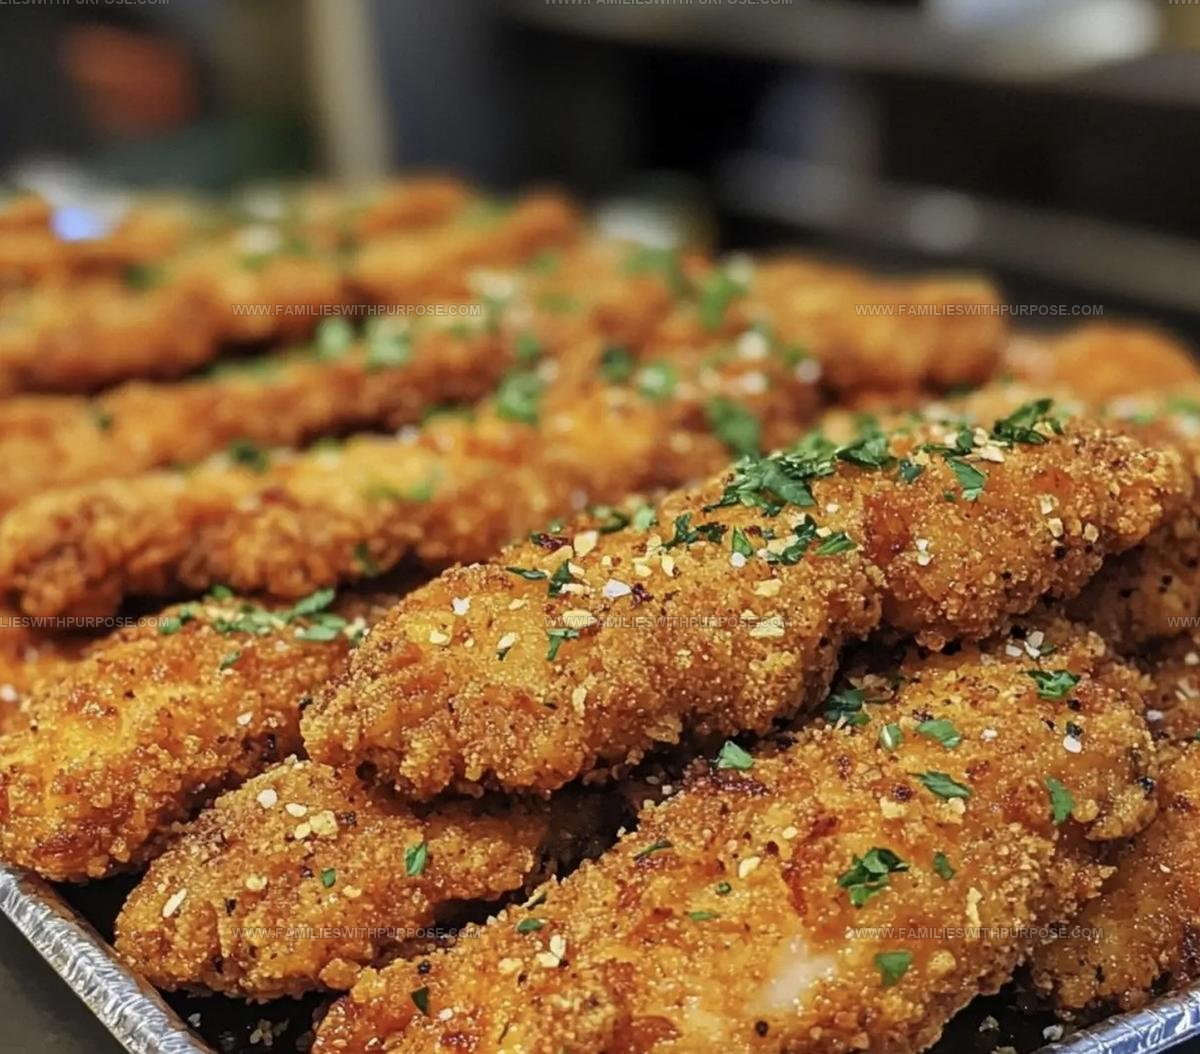
Crispy on the outside and juicy on the inside, they satisfy cravings in a way that few other dishes can match.
They're familiar enough to feel like comfort food but special enough to make any meal feel like a treat.
The appeal crosses all ages and occasions, making them a go-to choice when you want something that's guaranteed to please.
Simple to prepare yet incredibly satisfying, they deliver that perfect combination of flavor and texture every single time.
What makes them truly wonderful is how reliably delicious they turn out, giving you a meal everyone will actually be excited about eating.
Top Reasons Fried Chicken Tenders Always Win
All Ingredients Needed for Fried Chicken Tenders
Main Protein:Dry Coating Ingredients:Wet Coating Ingredients:Seasonings:Cooking Ingredient:What You’ll Need for Fried Chicken Tenders
Step By Step Instructions For Chicken Tenders
Prepare Chicken Strips
Grab those chicken breasts and slice them into even strips, aiming for about 1-inch width. This helps them cook evenly and look super neat on the plate.
Create Seasoning Mix
Grab a bowl and mix together the seasonings for maximum flavor:
Sprinkle this blend generously over your chicken strips and let them rest for 30 minutes. This helps the flavors sink deep into the meat.
Set Up Breading Station
Arrange three shallow dishes on your counter:
Coat Chicken Pieces
Dip each chicken strip first in flour, shaking off excess. Then roll it through the beaten eggs. Finally, coat completely in seasoned breadcrumbs. Press the crumbs gently so they stick perfectly.
Heat Cooking Oil
Pour about 1 liter of oil into a deep skillet. Heat to 350°F, which is perfect for crispy, golden tenders.
Fry Chicken Tenders
Carefully lower breaded strips into hot oil. Cook for 4-5 minutes on each side until they turn a beautiful golden brown. The internal temperature should reach 165°F for safe eating.
Drain and Serve
Transfer tenders to a paper towel-lined plate to drain excess oil. Serve warm with your favorite dipping sauce and watch everyone dig in!
Best Cooking Tips For Fried Chicken Tenders
Fried Chicken Tenders With Coating Variations
How To Serve Fried Chicken Tenders Crispy
Fried Chicken Tenders Storage Advice
Fried Chicken Tenders Common Queries
What makes the breading stick to the chicken tenders?
The buttermilk marinade helps the flour and breadcrumbs cling perfectly to your chicken, creating a super crispy coating that won’t fall off while frying.
Can I make these chicken tenders ahead of time?
Absolutely prep the breaded tenders and refrigerate them on a tray for up to 2 hours before cooking to save time during meal prep.
Do I need a deep fryer for this recipe?
No special equipment required! A deep skillet or heavy-bottomed pan works great for frying chicken tenders with even, crispy results.
How do I know the oil is hot enough for frying?
Drop a breadcrumb into the oil – if it sizzles and turns golden immediately, your oil is ready for perfect frying.
Can I use panko instead of regular breadcrumbs?
Panko works wonderfully and creates an extra crispy, light coating that makes chicken tenders super crunchy.
Is it okay to reuse the frying oil?
Strain the cooled oil through a fine-mesh strainer and store in a sealed container for one more use within a week.

Fried Chicken Tenders Recipe
- Total Time: 43-45 minutes
- Yield: 4 1x
Description
Fried Chicken Tenders will make your taste buds dance with pure delight. Crispy, golden strips deliver serious flavor that’ll have your family begging for seconds.
Ingredients
Main Ingredients:
- 1 pound chicken breasts
- 1 cup all-purpose flour
- 1 cup breadcrumbs
Seasoning Ingredients:
- 1 teaspoon salt
- ½ teaspoon pepper
- 1 teaspoon garlic powder
- 1 teaspoon paprika
Binding Ingredients:
- 2 large eggs
- 1 liter oil for frying
Instructions
- Mix 1 teaspoon salt, ½ teaspoon pepper, and 1 teaspoon garlic powder into the chicken strips. Let your chicken absorb these flavors for 30 minutes in the refrigerator.
- Create three shallow dishes: one with 1 cup flour, another with 2 beaten eggs, and the third with 1 cup breadcrumbs mixed with 1 teaspoon paprika.
- Roll each chicken strip first in flour, ensuring complete coverage and shaking off excess.
- Dip the floured strip into beaten eggs, allowing extra egg to drip back into the dish.
- Roll the egg-coated strip thoroughly in seasoned breadcrumbs, pressing gently to help crumbs adhere.
- Pour 1 liter of oil into a deep skillet, heating to 350°F over medium-high heat.
- Carefully lower breaded strips into hot oil, cooking 4-5 minutes until golden brown.
- Flip chicken tenders once, cooking an additional 4-5 minutes until internal temperature reaches 165°F.
- Remove tenders with a slotted spoon, placing on paper towels to drain excess oil.
- Let chicken rest 2-3 minutes before serving to maintain crispy exterior and juicy interior.
Notes
- Marinate chicken in buttermilk overnight for maximum tenderness and flavor absorption.
- Use a thermometer to ensure oil stays around 350°F for perfectly crispy exterior without burning.
- Mix panko breadcrumbs with seasoned flour for extra crunch and a more interesting texture.
- Pat chicken completely dry before breading to help coating stick better and prevent soggy results.
- Prep Time: 35 minutes
- Cook Time: 8-10 minutes
- Category: Fried
- Method: Frying
- Cuisine: American
Nutrition
- Serving Size: 4
- Calories: 563 kcal
- Sugar: 1 g
- Sodium: 600 mg
- Fat: 35 g
- Saturated Fat: 6 g
- Unsaturated Fat: 27 g
- Trans Fat: 0.5 g
- Carbohydrates: 30 g
- Fiber: 2 g
- Protein: 45 g
- Cholesterol: 140 mg
Sophie Lane
Recipe Developer
Expertise
Family-friendly Meals, Simple Healthy Cooking, Ingredient Substitutions, Beginner-friendly Recipes, Flexible Meal Prep
Education
- Program: Professional Cook Certificate
- Focus: Online culinary training covering knife skills, cooking techniques, and plant-based and modern cooking approaches.
Schoolcraft CollegeSophie brings a calm and flexible approach to Families With Purpose. Based in Fort Collins, Colorado, she creates recipes that feel simple, clear, and easy to make at home. She focuses on family-friendly meals, healthy everyday cooking, ingredient swaps, and beginner-friendly ideas. Sophie helps make each recipe approachable and easy to follow, especially for busy families who need meals that can bend with the day.