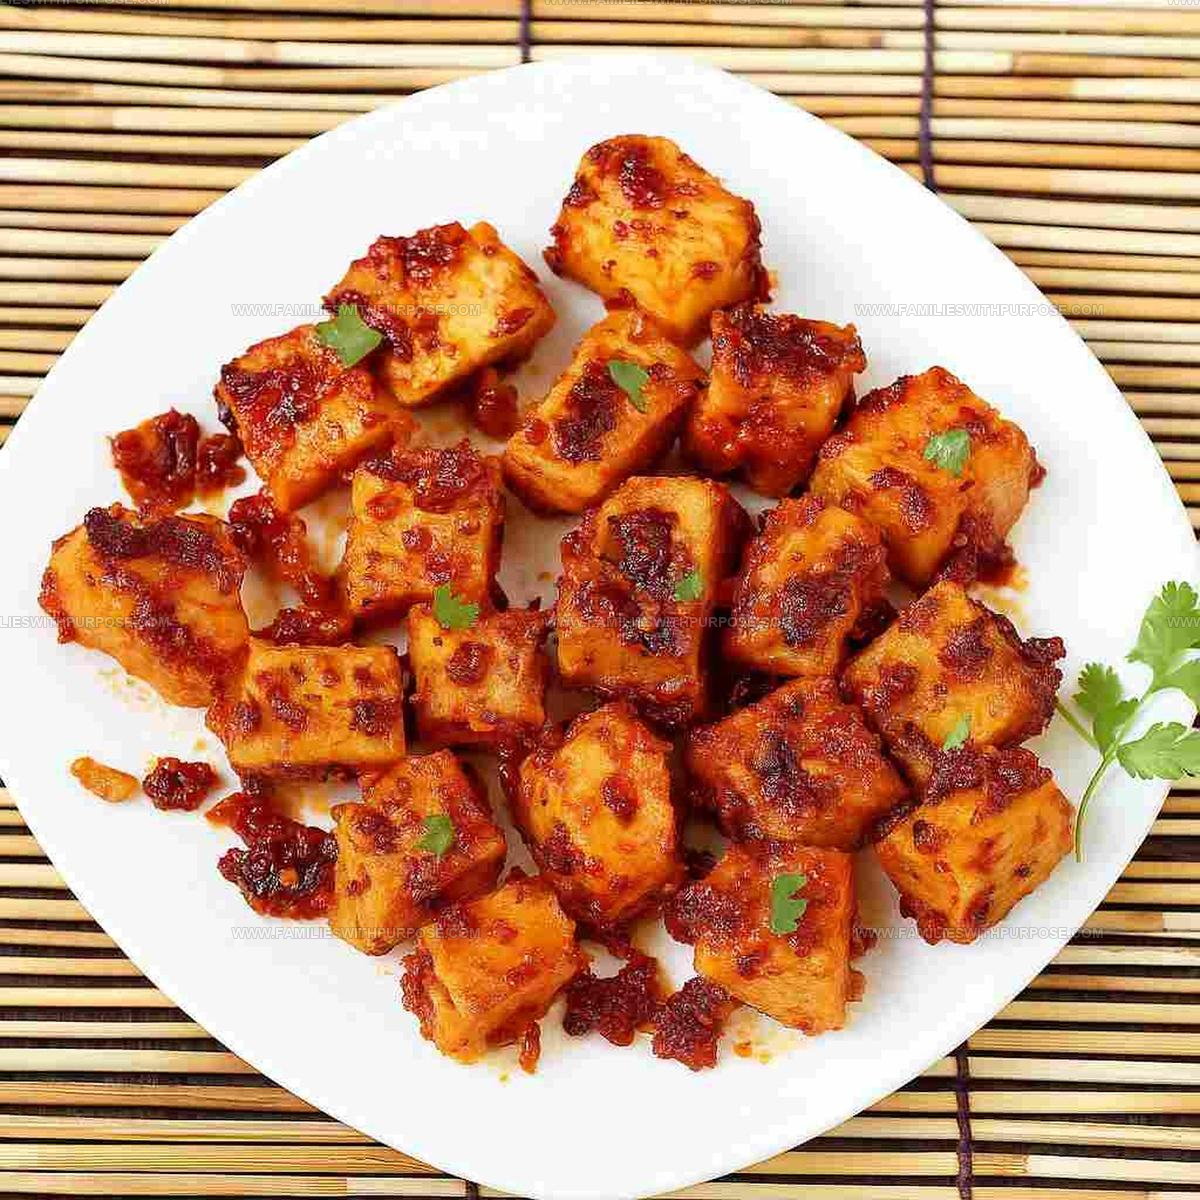
Garlic Paneer Recipe for Restaurant-Style Curry at Home
Succulent garlic paneer promises a delightful journey through rich, bold flavors that dance across your palate.
Creamy cheese cubes infused with aromatic garlic create an irresistible fusion of comfort and excitement.
Vegetarian enthusiasts and spice lovers will adore this mouthwatering dish that combines traditional Indian cooking techniques with modern culinary flair.
Soft, pillowy cheese pieces absorb robust garlic notes, developing complex flavor profiles that satisfy deep hunger pangs.
Perfect for weekend gatherings or weeknight dinners, this recipe transforms simple ingredients into something extraordinarily delectable.
Warm, inviting aromas will fill your kitchen, enticing everyone nearby with its incredible sensory appeal.
Standout Features Of Garlic Paneer

What Shapes Spicy Garlic Paneer
Garlic Sauce Ingredients:Paneer Ingredients:Garnish Ingredients:Kitchen Tools Needed for Garlic Paneer
Preparing Garlic Paneer Step By Step
Prep the Blender Sauce
Grab your blender and toss in 6 large garlic cloves, 5-6 dried red chilies (make sure to remove those seeds), 1 teaspoon sugar, 1/4 teaspoon salt, 1 teaspoon vinegar, and 2 tablespoons water. Blend until you have a smooth or slightly chunky sauce that looks ready to pack a punch.
Heat the Cooking Pan
Warm 2 tablespoons of oil in a pan over medium heat at 350°F. Drop in 1/2 teaspoon cumin seeds and listen for that satisfying sizzle. If your kitchen loves extra flavor, sprinkle in 1/2 cup finely chopped onions and cook until they turn golden and fragrant.
Build the Sauce Base
Pour your blended garlic-chili mixture into the pan. Stir and cook this sauce until you see a thin layer of oil starting to separate around the edges. This tells you the flavors are developing nicely.
Add the Paneer
Gently fold 1 1/4 cups of diced paneer into the spicy sauce. If you’re feeling adventurous, splash in 1 tablespoon of soy sauce. Toss the paneer so each cube gets completely coated in the zesty garlic mixture.
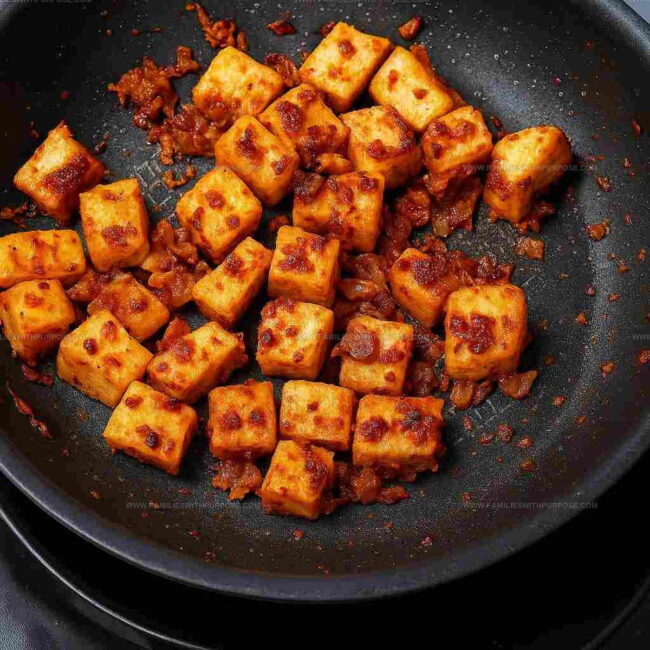
Final Cooking
Cook the paneer for 2-3 minutes at 350°F, making sure it’s heated through and thoroughly covered in sauce. The goal is warm paneer with a gorgeous, clingy sauce.
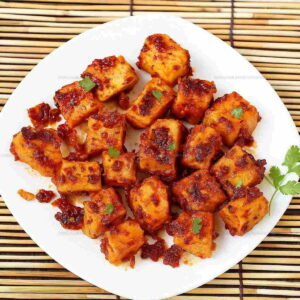
Garnish and Serve
Sprinkle some fresh coriander leaves or chopped celery on top for a bright finish. Serve this spicy starter immediately while it’s hot and aromatic.
Good To Know Before Cooking Garlic Paneer
Different Takes on Garlic Paneer
Serving and Pairing Ideas for Garlic Paneer
Best Storage Practices For Garlic Paneer Recipe
Questions Readers Often Have About Garlic Paneer
What makes garlic paneer different from other paneer dishes?
This recipe brings intense garlic flavor with a spicy kick from red chilies, creating a bold starter that stands out from milder paneer preparations.
Can dairy-free alternatives work for this recipe?
Tofu makes an excellent substitute if paneer isn’t available, delivering similar texture and absorbing the robust garlic-chili sauce perfectly.
How spicy does this dish become?
The heat level depends on your red chili quantity – start with fewer chilies and adjust according to your personal spice tolerance.
Should paneer be fresh or store-bought?
Both work great. Fresh homemade paneer provides softer texture, while store-bought offers convenient consistency and reliable results.
What proteins pair well with garlic paneer?
Grilled chicken or lamb complement this starter beautifully, creating a balanced and flavorful meal combination.
Garlic Paneer Recipe
- Total Time: 15 minutes
- Yield: 2 1x
Description
Garlic paneer brings sizzling North Indian street food right to your kitchen, packed with bold spices that dance on your taste buds. Crispy cheese cubes tossed in fiery garlic masala will make your next gathering seriously delicious.
Ingredients
Main Ingredients:
- 1¼ cups paneer
- 6 large garlic cloves
- 5–6 dried red chilies
Supporting Ingredients:
- 2 tablespoons oil
- ½ cup finely chopped onions
- ½ teaspoon cumin seeds
- 1 tablespoon soy sauce
- 1 teaspoon sugar
Seasoning and Garnish:
- ¼ teaspoon salt
- 1 teaspoon vinegar
- 2 tablespoons water
- Fresh coriander leaves
- 1 small strand of mace
Instructions
- Crush 6 garlic cloves and 5-6 deseeded dried red chilies into a paste with 1 teaspoon sugar, ¼ teaspoon salt, 1 teaspoon vinegar, and 2 tablespoons water using a blender until smooth.
- Heat 2 tablespoons oil in a pan at medium temperature (around 350°F). Sprinkle ½ teaspoon cumin seeds until they sizzle.
- Add ½ cup finely chopped onions to the pan and sauté for 3-4 minutes until they turn golden brown and translucent.
- Pour the prepared garlic-chili paste into the pan. Stir continuously for 2 minutes until the mixture becomes fragrant and oil starts separating.
- Gently add 1¼ cups diced paneer cubes to the spicy sauce. Toss carefully to coat each piece evenly.
- Optional: Drizzle 1 tablespoon soy sauce and a small splash of water to create a glossy consistency.
- Cook the paneer for 2-3 minutes at medium heat, ensuring it warms through and absorbs the sauce completely.
- Transfer to a serving plate and garnish with fresh chopped coriander leaves or finely sliced celery.
Notes
- Keep paneer soft by not overcooking, as it can become rubbery and tough when heated too long.
- Marinate paneer cubes in the garlic-chili sauce for 15-20 minutes before cooking to enhance deeper flavor absorption.
- Use fresh paneer for the best texture and mild taste, which helps balance the spicy garlic sauce.
- For a lighter version, consider grilling or baking paneer cubes instead of pan-frying to reduce oil content.
- Prep Time: 5 minutes
- Cook Time: 10 minutes
- Category: Sautéed
- Method: Sautéing
- Cuisine: Indian
Nutrition
- Serving Size: 2
- Calories: 420 kcal
- Sugar: 2 g
- Sodium: 700 mg
- Fat: 32 g
- Saturated Fat: 18 g
- Unsaturated Fat: 12 g
- Trans Fat: 0 g
- Carbohydrates: 10 g
- Fiber: 1.5 g
- Protein: 18 g
- Cholesterol: 50 mg
Sophie Lane
Recipe Developer
Expertise
Family-friendly Meals, Simple Healthy Cooking, Ingredient Substitutions, Beginner-friendly Recipes, Flexible Meal Prep
Education
- Program: Professional Cook Certificate
- Focus: Online culinary training covering knife skills, cooking techniques, and plant-based and modern cooking approaches.
Schoolcraft CollegeSophie brings a calm and flexible approach to Families With Purpose. Based in Fort Collins, Colorado, she creates recipes that feel simple, clear, and easy to make at home. She focuses on family-friendly meals, healthy everyday cooking, ingredient swaps, and beginner-friendly ideas. Sophie helps make each recipe approachable and easy to follow, especially for busy families who need meals that can bend with the day.