Greek Pita Bread Recipe That Puffs Up Golden and Tender
Soft, pillowy greek pita bread stands as a beloved Mediterranean staple that connects generations through its simple yet profound comfort.
Bakeries across Greece have perfected this delightful flatbread over centuries, creating a deeply satisfying culinary tradition.
Warm and inviting, pita bread represents more than just a side dish – it embodies hospitality and shared moments around the table.
Its versatile nature allows you to enjoy it with numerous meals, making it a kitchen essential for anyone passionate about authentic flavors.
Crafting homemade pita bread transforms an ordinary meal into something extraordinary, offering a sensory experience that store-bought versions simply cannot match.
Baking these delicate rounds requires minimal skill but delivers maximum satisfaction, welcoming both novice and experienced home cooks to explore its delightful preparation.
Grab your apron and prepare to connect with a time-honored recipe that promises to delight your senses and impress everyone at your table.
Why You’ll Love Greek Pita Bread

Greek Pita Bread Ingredient List
Main Dough Ingredients:Flavor Enhancers:Cooking Support:Kitchen Tools Needed for Greek Pita Bread
Simple Way to Make Greek Pita Bread
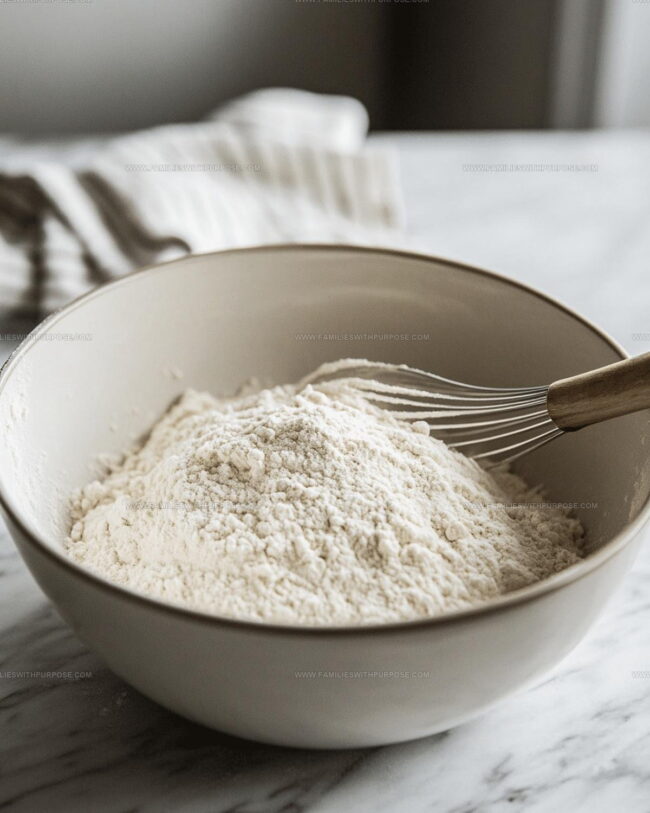
Combine Dry Ingredients
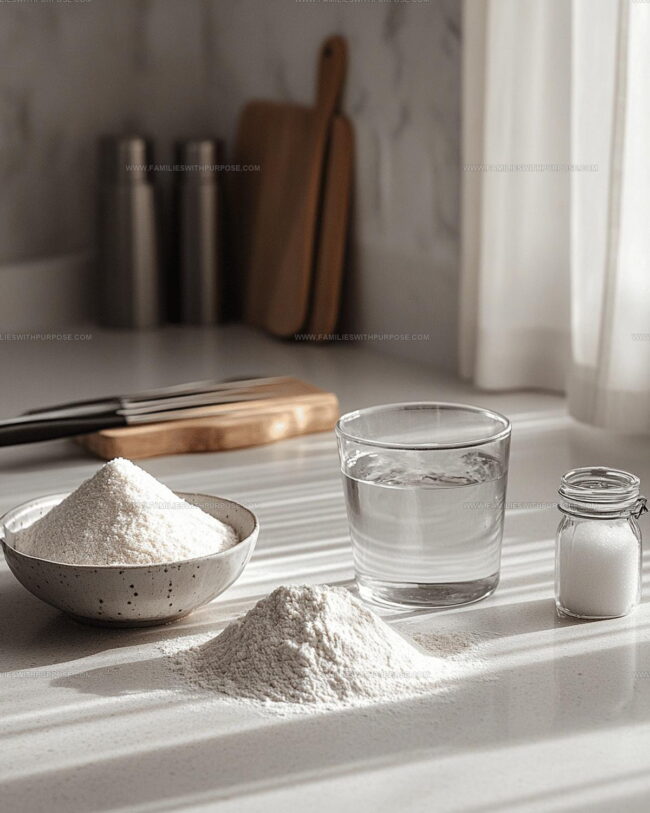
Grab a large mixing bowl and toss in 12.3 ounces of all-purpose flour. Sprinkle 2 tablespoons of granulated sugar, 2 teaspoons of instant dry yeast, and 1 teaspoon of salt into the bowl. Whisk everything together until it’s well mixed.
Add Liquid Ingredients
Create a small well in the center of your dry ingredients. Pour in 8.4 ounces of lukewarm water and 2 tablespoons of olive oil. Mix the ingredients until they start to come together into a shaggy dough.
Knead the Dough
Transfer the dough onto a clean surface. Start kneading with your hands, working the mixture for about 3-4 minutes. Keep pushing and folding until the dough becomes smooth and slightly elastic.
First Rise
Place the dough back into the bowl and cover it with a clean kitchen towel. Let it rest in a warm spot for 1 hour. Watch for the dough to double in size – this is when the magic happens with yeast.
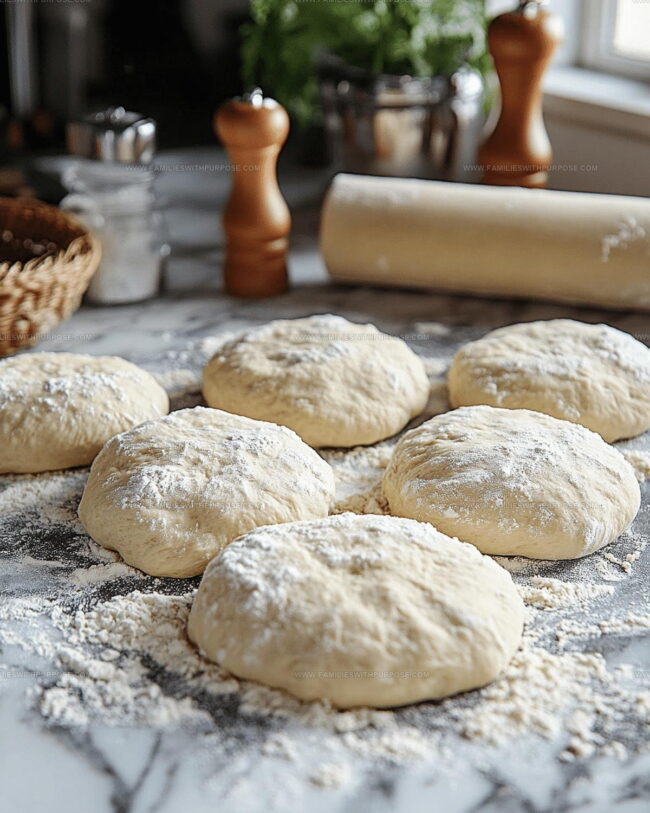
Divide and Shape
Punch down the risen dough and split it into 6 equal portions. Roll each piece into a nice round ball. Flatten each ball with your palm, creating 6-inch circular shapes.
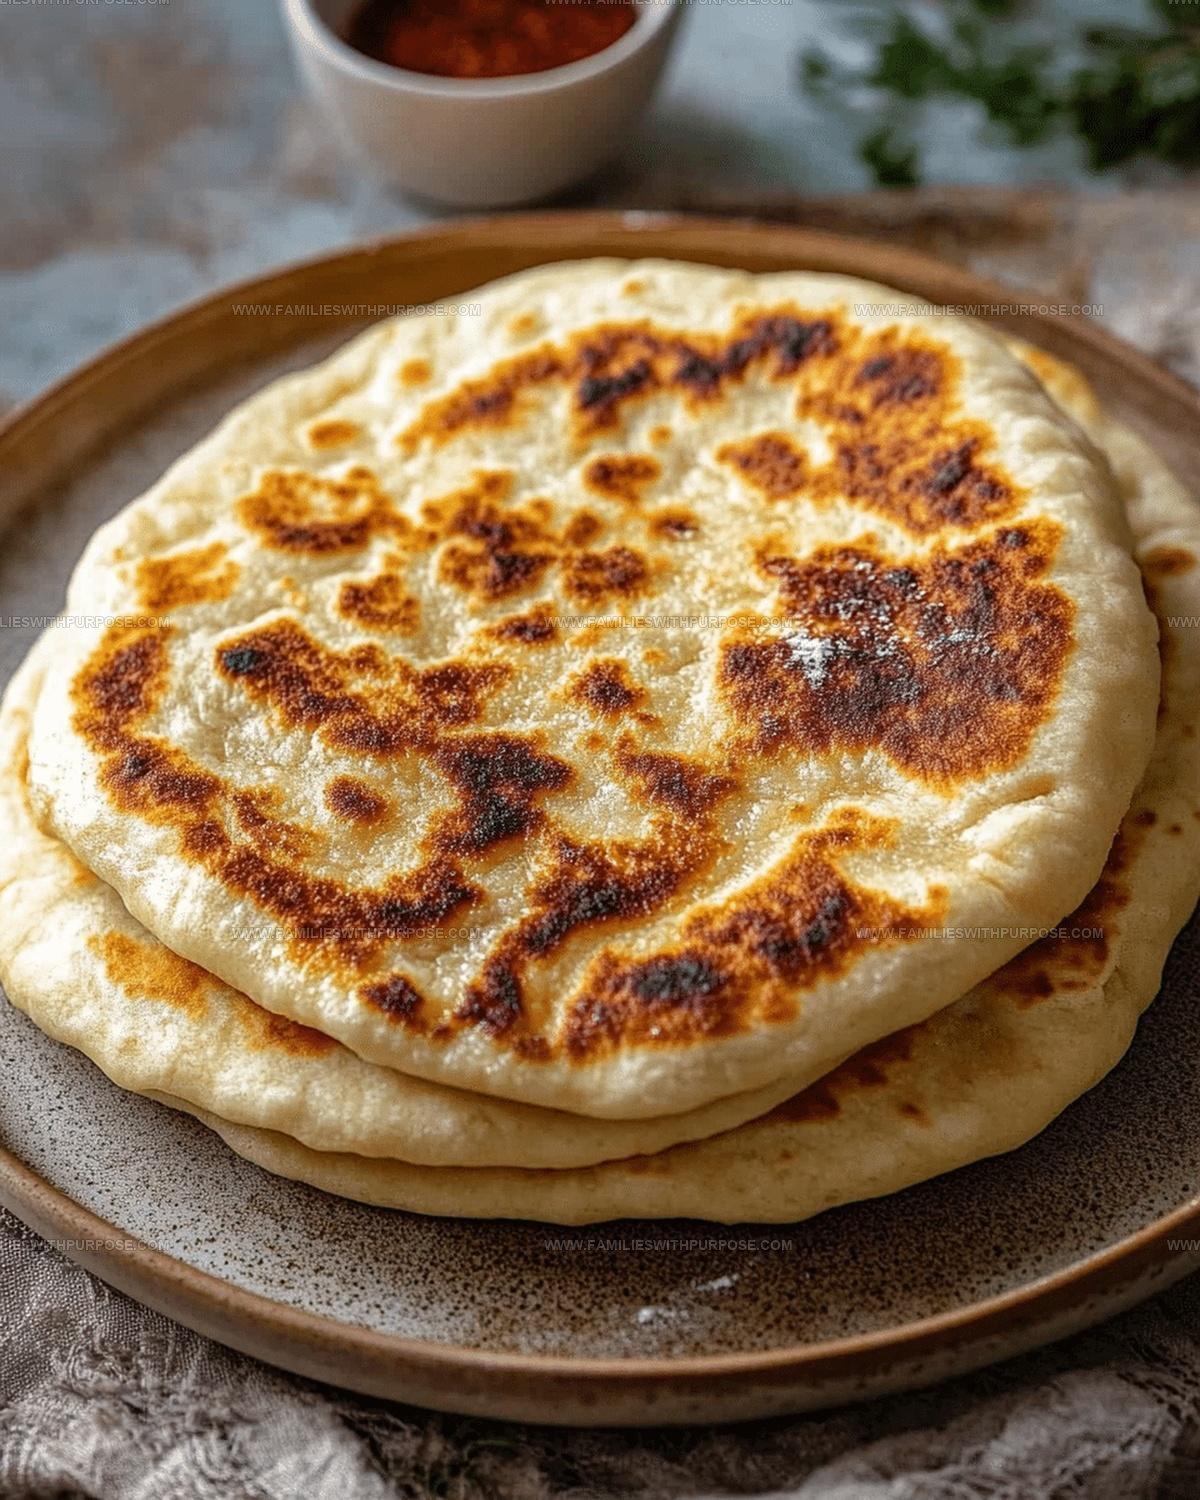
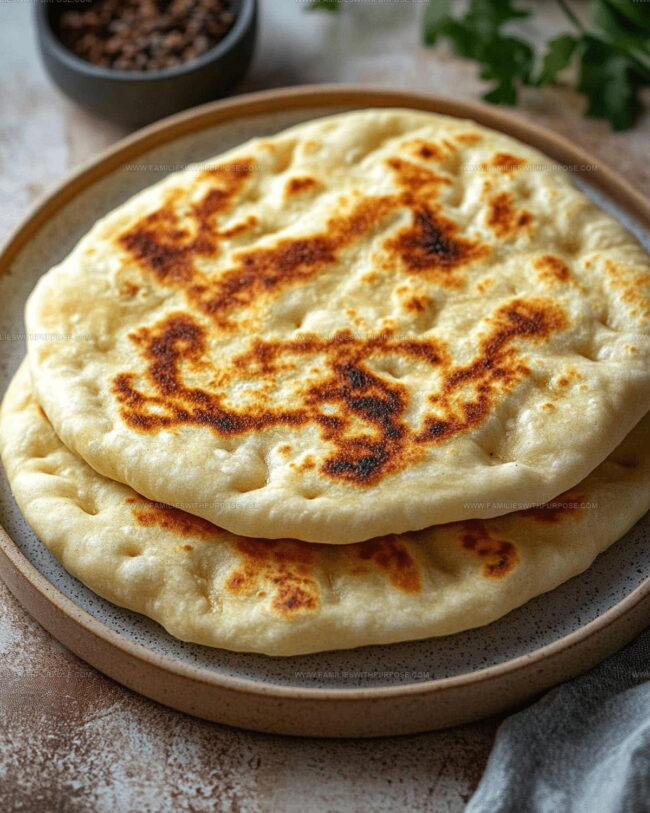
Cook the Pitas
Heat a skillet over medium heat (set to 350°F). Lightly brush the pan with olive oil. Cook each pita round for 1-2 minutes on each side. Look for golden brown spots and watch for the signature puff.
What Are the Best Tips for Greek Pita Bread
What Are Greek Pita Bread Variations
Classic Serving Ideas For Greek Pita Bread
Storage And Reheating Notes For Greek Pita Bread
Greek Pita Bread Common Questions
What makes Greek pita bread different from other flatbreads?
Authentic Greek pita bread has a softer texture and uses simple ingredients like flour, water, and olive oil, which create a lighter, more delicate bread compared to other regional flatbreads.
Can bread flour be substituted for all-purpose flour?
All-purpose flour works perfectly for this recipe. Bread flour might make your pita slightly chewier, but the difference won’t dramatically change the final result.
How do I know when the dough has risen correctly?
The dough should double in size and look puffy. When you gently press the surface, it should slowly spring back without deflating completely.
Why does my pita sometimes not puff up?
Ensure your skillet is hot enough and that you’re cooking each side for the full 1-2 minutes. The right temperature creates steam that helps the bread puff.
Can I freeze homemade pita bread?
Wrap each pita in plastic wrap, then store in a freezer bag. They’ll stay fresh for about one month and can be thawed at room temperature.

Greek Pita Bread Recipe
- Total Time: 1 hour 22 minutes
- Yield: 6 1x
Description
Warm Greek pita bread comes straight from my family’s cherished kitchen traditions, ready to elevate your meals with its authentic Mediterranean charm. Stuffed with favorite fillings or enjoyed solo, this simple bread connects generations through its comforting, rustic flavor.
Ingredients
Primary Ingredients:
- 12.3 ounces all-purpose flour
- 8.4 ounces water
Leavening Agents:
- 2 teaspoons instant dry yeast
- 2 tablespoons granulated sugar
Seasoning and Fat:
- 1 teaspoon salt
- 2 tablespoons olive oil
Instructions
- Combine 12.3 ounces flour, 2 tablespoons sugar, 2 teaspoons yeast, and 1 teaspoon salt in a large mixing bowl. Whisk these dry ingredients thoroughly to distribute them evenly.
- Create a well in the center of the dry ingredients. Pour 8.4 ounces lukewarm water and 2 tablespoons olive oil into this space.
- Blend the wet and dry ingredients using your hands until a shaggy dough forms. Knead for 3 minutes on a clean surface until the texture becomes smooth and slightly tacky.
- Transfer the dough to a lightly oiled bowl. Cover with a clean kitchen towel and let it rest at room temperature for 60 minutes, or until the volume doubles.
- Punch down the risen dough to release air bubbles. Divide the dough into 6 equal portions and roll each into a smooth ball.
- Using your palms, flatten each ball into a 6-inch round disc approximately ¼ inch thick. Ensure the thickness is consistent for even cooking.
- Heat a skillet to medium heat (375°F). Brush the surface with a thin layer of olive oil.
- Cook each pita round for 1-2 minutes per side. Watch for golden brown spots and slight puffing, which indicates perfect doneness.
- Transfer cooked pitas to a plate and cover with a clean towel to keep them soft and warm.
Notes
- Fresh yeast makes a significant difference in how well the pita bread rises and develops its signature pocket.
- Keep your skillet at a consistent medium heat to ensure even cooking and prevent burning.
- For softer pitas, brush each round with extra olive oil right after cooking while they’re still warm.
- Whole wheat flour can replace half the all-purpose flour for a more nutritious version with a slightly nuttier flavor.
- Prep Time: 10 minutes
- Cook Time: 12 minutes
- Category: Sautéed
- Method: Sautéing
- Cuisine: Greek
Nutrition
- Serving Size: 6
- Calories: 168 kcal
- Sugar: 1 g
- Sodium: 167 mg
- Fat: 3 g
- Saturated Fat: 0.4 g
- Unsaturated Fat: 2.6 g
- Trans Fat: 0 g
- Carbohydrates: 31 g
- Fiber: 1.2 g
- Protein: 5 g
- Cholesterol: 0 mg
Mason Carter
Founder
Expertise
Family Meal Routines, Simple One-pot Meals, Budget-friendly Cooking, Quick Dinner Planning, Batch Cooking Systems
Education
- Certificate: Culinary Arts
- Focus: Training in core cooking techniques, kitchen operations, and real food preparation through hands-on experience in professional-style kitchens.
Penn Foster Career School (Online)Mason is the founder of Families With Purpose and the heart behind its simple, family-focused recipes. Based in Greenville, South Carolina, he creates meals that fit into busy routines and bring people back to the table. He focuses on easy dinners, one-pot meals, budget-friendly cooking, and practical weekly meal planning. Mason has built a recipe collection shaped by real family life, with clear methods and repeatable meals that work on everyday schedules.