
Savory Hibachi Chicken Recipe for Restaurant-Style Meals at Home
Sizzling hibachi chicken promises a restaurant-style feast right in your kitchen.
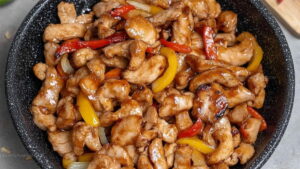
Succulent, juicy meat with a mouth-watering golden char defines this crowd-pleasing favorite.
Japanese-inspired cooking techniques transform simple ingredients into something spectacular.
Backyard barbecues and weekend dinners suddenly feel more exciting with this delectable option.
Home chefs can easily master the art of creating restaurant-quality flavors without complicated equipment.
Impressive yet approachable, this recipe delivers bold tastes that spark conversation around the dinner table.
What Makes Hibachi Chicken Restaurant-Worthy
Hibachi Chicken Ingredients
Main Protein:Cooking Oils:Flavor Enhancers:Finishing Touches:Handy Kitchen Tools for Hibachi Chicken
Classic Method for Hibachi Chicken
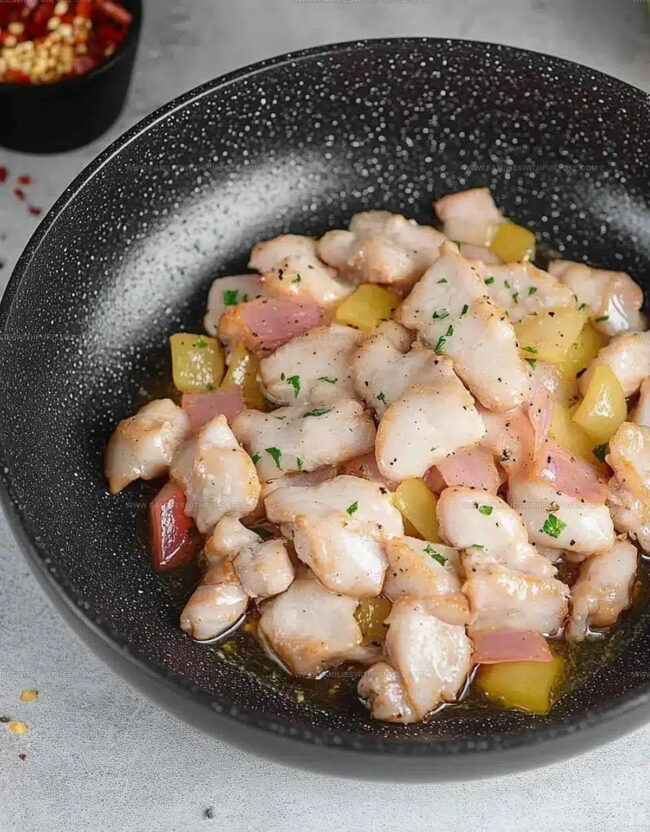
Prep the Protein
Grab those 2 chicken breasts and slice them into bite-sized chunks. Season generously with salt and pepper so each piece gets some flavor love.
Fire Up the Skillet
Grab a large skillet and pour in 2 tablespoons vegetable oil. Crank the heat to medium-high and let the pan get nice and hot – around 375°F.
Chicken Dance
Carefully drop the seasoned chicken pieces into the sizzling pan. Let them cook for 5-7 minutes, turning occasionally so each side gets a beautiful golden-brown crust.
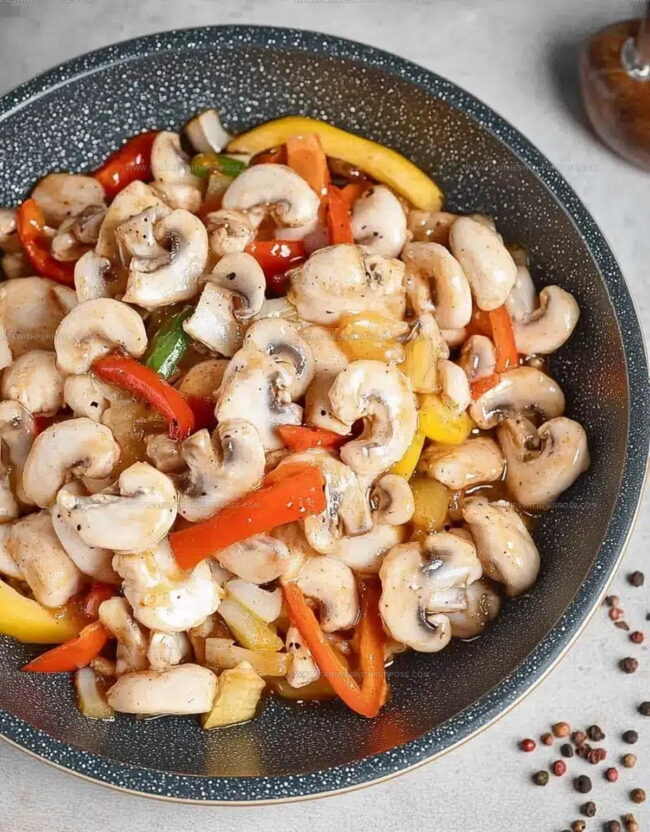
Flavor Boost
Turn the heat down to medium. Toss in your aromatics:
Stir these around quickly so they don’t burn and get all fragrant.
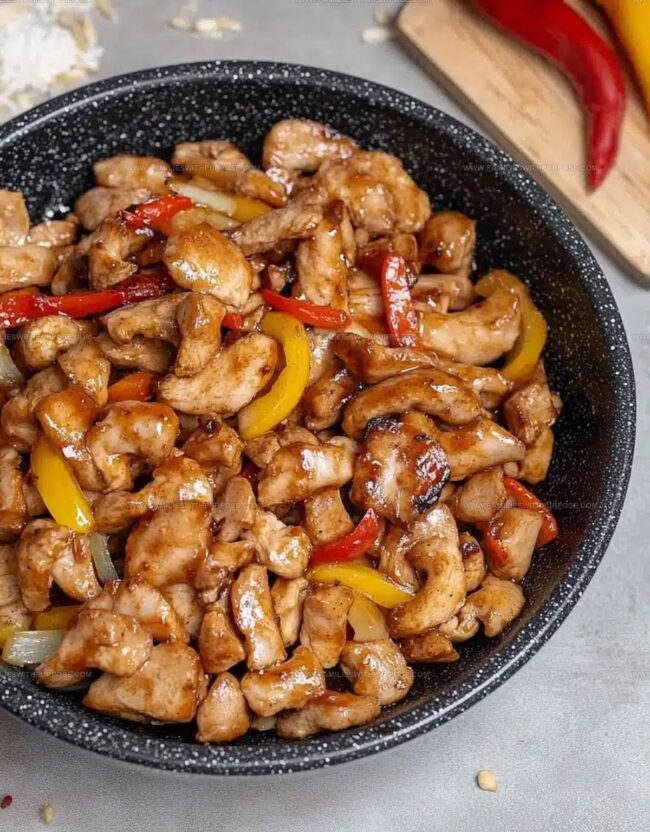
Sauce Magic
Pour in your liquid flavor bombs:
Swirl everything around so the chicken gets completely coated.
Zesty Finish
Splash in 1 tablespoon lemon juice and let everything bubble together for 2 more minutes.
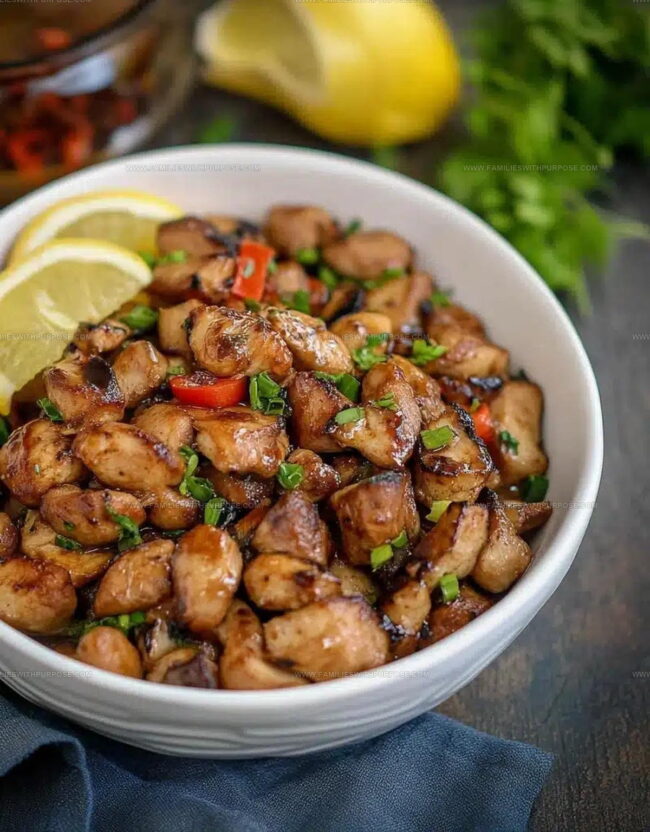
Plate and Garnish
Transfer your delicious chicken to a serving plate. Sprinkle some chopped green onions on top for a fresh pop of color and flavor.
Smart Notes for Hibachi Chicken
Creative Hibachi Chicken Options
Best Serving Options For Hibachi Chicken
Best Storage Method For Hibachi Chicken
Hibachi Chicken Questions Readers Often Ask
What meat works best for hibachi chicken?
Chicken breasts are ideal because they’re lean, tender, and absorb flavors perfectly when cut into bite-sized pieces.
Can I make this recipe gluten-free?
Absolutely – just swap traditional soy sauce for tamari or a gluten-free soy sauce alternative.
How do I prevent the garlic from burning?
Keep the heat at medium and stir constantly for about 30 seconds after adding garlic and ginger to the skillet.
Should the chicken be completely white inside when cooking?
Cook until the chicken reaches an internal temperature of 165°F to ensure it’s safely done without becoming dry.
What side dishes complement hibachi chicken?
Classic options include steamed rice, stir-fried vegetables, or a simple cucumber salad that balances the savory chicken flavors.
Can I substitute fresh ginger with ground ginger?
Fresh ginger provides more vibrant flavor, but ground ginger works in a pinch – use about 1/2 teaspoon as a replacement.
Hibachi Chicken Recipe
- Total Time: 14 minutes
- Yield: 2 1x
Description
Master Hibachi Chicken delivers authentic Japanese flavors right to your kitchen without hassling with complex techniques. Sizzling chicken, simple seasonings, and speedy cooking bring restaurant-quality excitement directly to your dinner plate.
Ingredients
Protein:
- 2 boneless, skinless chicken breasts
Cooking Liquids and Seasonings:
- 2 tablespoons vegetable oil
- 1 tablespoon soy sauce
- 1 tablespoon sesame oil
- 1 tablespoon butter
- 1 tablespoon lemon juice
Aromatics and Garnish:
- 1 teaspoon garlic, minced
- 1 teaspoon ginger, minced
- Salt and pepper to taste
- Chopped green onions for garnish
Instructions
- Slice 2 chicken breasts into uniform 1-inch bite-sized pieces. Sprinkle generously with salt and pepper across all surfaces.
- Heat 2 tablespoons vegetable oil in a large skillet over medium-high heat until oil shimmers and surface looks glossy.
- Carefully place seasoned chicken pieces into hot skillet, ensuring they’re not overcrowded. Cook for 5-6 minutes, flipping halfway to create golden-brown exterior.
- Reduce heat to medium. Add 1 teaspoon minced garlic and 1 teaspoon minced ginger directly onto chicken, stirring constantly to prevent burning.
- Pour 1 tablespoon soy sauce, 1 tablespoon sesame oil, and 1 tablespoon butter into skillet. Gently toss chicken to coat evenly with sauce.
- Drizzle 1 tablespoon lemon juice over chicken. Continue cooking for an additional 2 minutes to blend flavors and ensure chicken reaches 165°F internal temperature.
- Transfer chicken to serving plate. Sprinkle chopped green onions across top for fresh garnish and subtle onion crunch.
Notes
- Always cut chicken into uniform bite-sized pieces to ensure even cooking and consistent texture.
- Use high heat when initially searing chicken to create a golden brown exterior that locks in moisture and flavor.
- Avoid overcrowding the skillet, which can cause steaming instead of proper browning and caramelization.
- Add garlic and ginger at the right moment to prevent burning and release their maximum aromatic qualities.
- Prep Time: 5 minutes
- Cook Time: 9 minutes
- Category: Sautéed
- Method: Sautéing
- Cuisine: Japanese
Nutrition
- Serving Size: 2
- Calories: 510 kcal
- Sugar: 0 g
- Sodium: 900 mg
- Fat: 35 g
- Saturated Fat: 9 g
- Unsaturated Fat: 25 g
- Trans Fat: 0 g
- Carbohydrates: 2 g
- Fiber: 0.5 g
- Protein: 45 g
- Cholesterol: 130 mg
Mason Carter
Founder
Expertise
Family Meal Routines, Simple One-pot Meals, Budget-friendly Cooking, Quick Dinner Planning, Batch Cooking Systems
Education
- Certificate: Culinary Arts
- Focus: Training in core cooking techniques, kitchen operations, and real food preparation through hands-on experience in professional-style kitchens.
Penn Foster Career School (Online)Mason is the founder of Families With Purpose and the heart behind its simple, family-focused recipes. Based in Greenville, South Carolina, he creates meals that fit into busy routines and bring people back to the table. He focuses on easy dinners, one-pot meals, budget-friendly cooking, and practical weekly meal planning. Mason has built a recipe collection shaped by real family life, with clear methods and repeatable meals that work on everyday schedules.