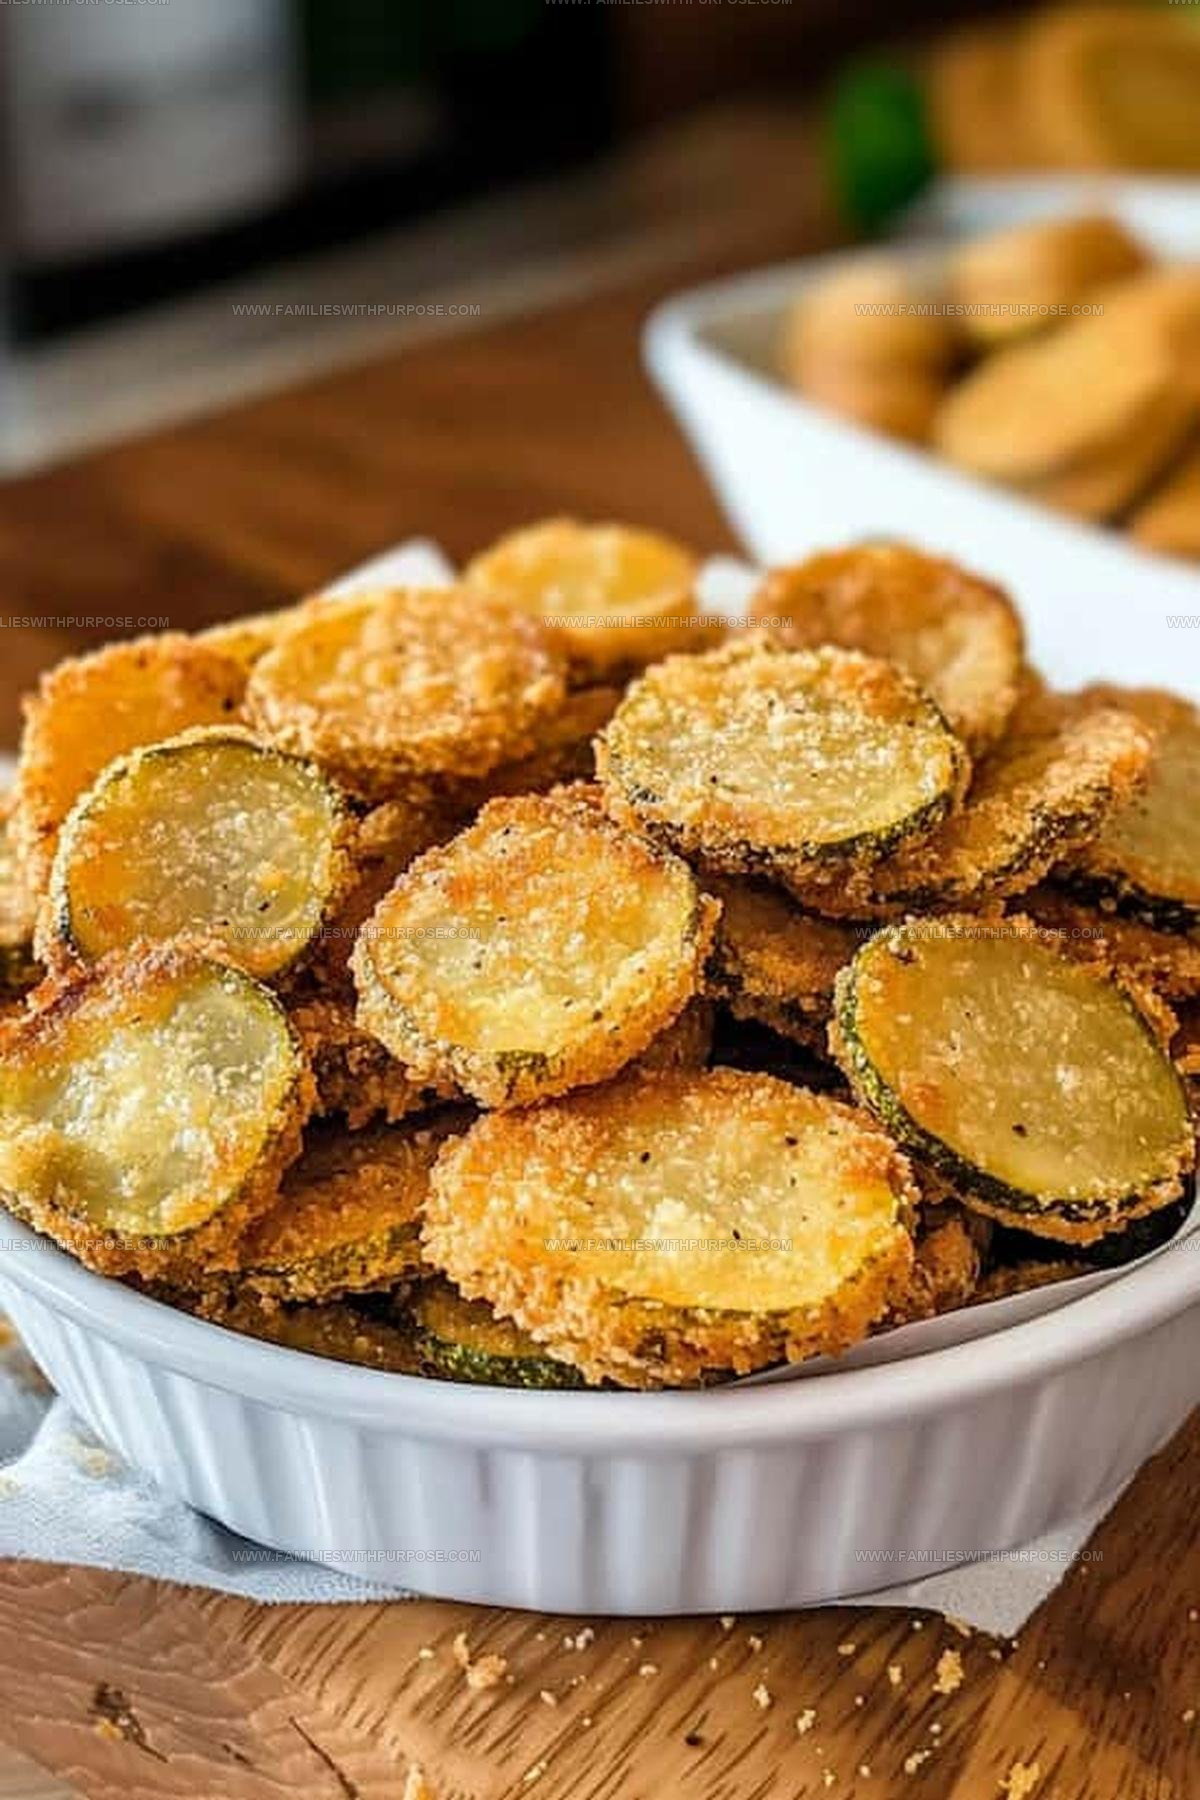
Crispy Fried Pickles Recipe For Game Day Snacking
Crispy homemade fried pickles deliver serious snack satisfaction for pickle lovers everywhere!
Southern kitchens have long celebrated this delightful appetizer that turns ordinary ingredients into something magical.
Crunchy exterior meets tangy interior, creating a sensational bite that sparks joy at every gathering.
Perfect for game day, backyard barbecues, or spontaneous munching, these golden-brown delights will become your new favorite crowd-pleaser.
Salty, addictive, and wonderfully simple to prepare, fried pickles represent comfort food at its finest.
Restaurants charge premium prices for this tasty treat, but you can easily master the technique right in your own kitchen.
Standout Features of Fried Pickles Done Right
What Goes Into Crispy Fried Pickles
Prep Tools For This Fried Pickles
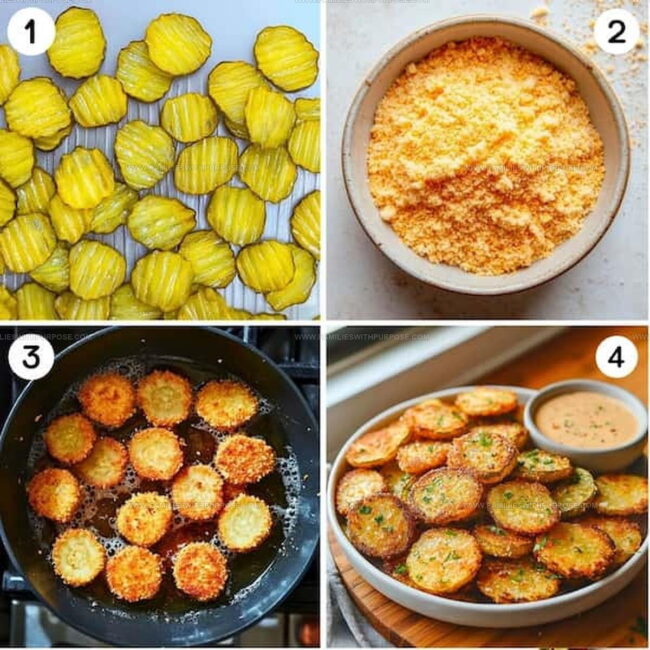
Complete Instructions For Fried Pickles
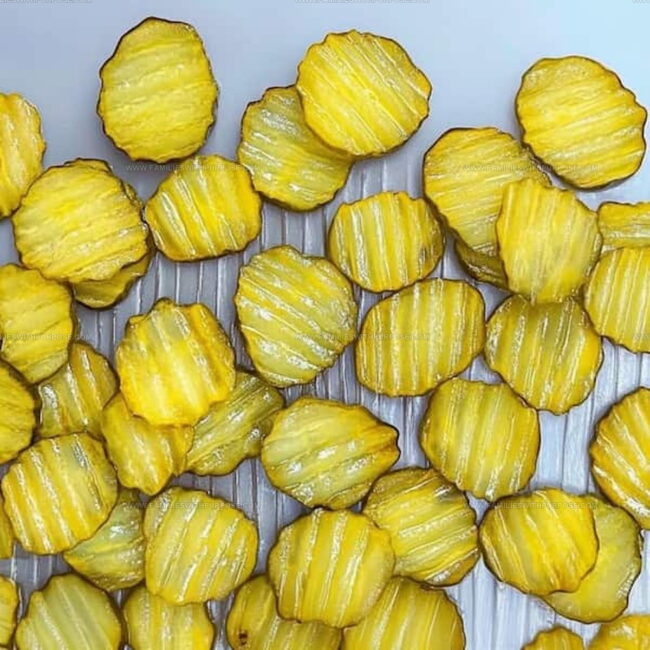
Prep the Pickles
Open that jar of dill pickle chips and drain them completely. Grab some paper towels and pat each pickle slice super dry. Spread them out on a clean kitchen towel so they can breathe and lose any extra moisture.
Create Breading Mixture
Grab two separate bowls for your breading adventure. In the first bowl, mix together:
In the second bowl, pour 1/2 cup of buttermilk.
Coat Each Pickle
Dunk each pickle slice into the buttermilk, making sure it’s totally covered. Then roll it in the flour mixture, pressing gently to help the coating stick. Shake off any extra breading and set the coated pickles on a clean plate.
Heat the Oil
Pour vegetable oil into a skillet, filling it about 1 inch deep. Heat the oil to exactly 350°F. If you don’t have a thermometer, drop a tiny piece of bread in the oil – it should sizzle instantly when the temperature is right.
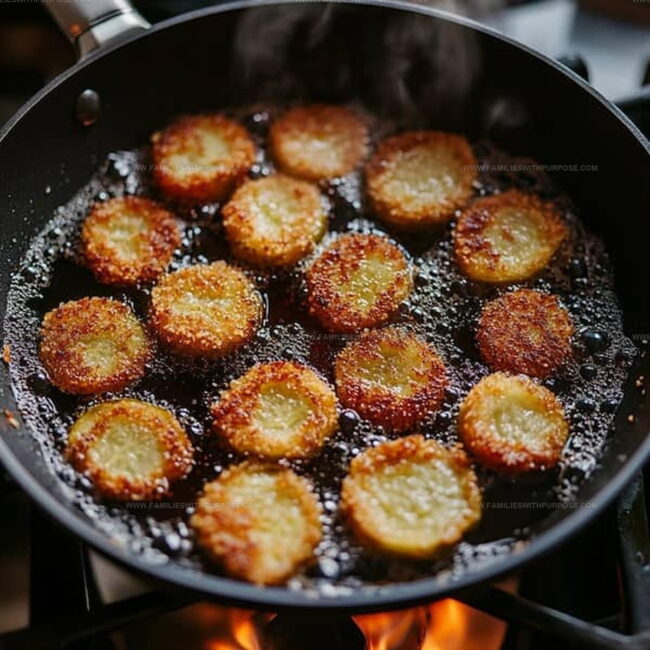
Fry the Pickles
Carefully lower the breaded pickles into the hot oil. Fry them for 1-2 minutes on each side until they turn a beautiful golden brown. Don’t crowd the pan – work in small batches to keep them crispy.
Drain and Season
Use a slotted spoon to remove the fried pickles. Place them on a paper towel-lined plate to drain excess oil. Sprinkle a pinch of salt over them while they’re still hot.
Whip Up the Dipping Sauce
In a small bowl, combine:
Stir everything together until smooth and creamy. Taste and adjust the seasonings if needed.
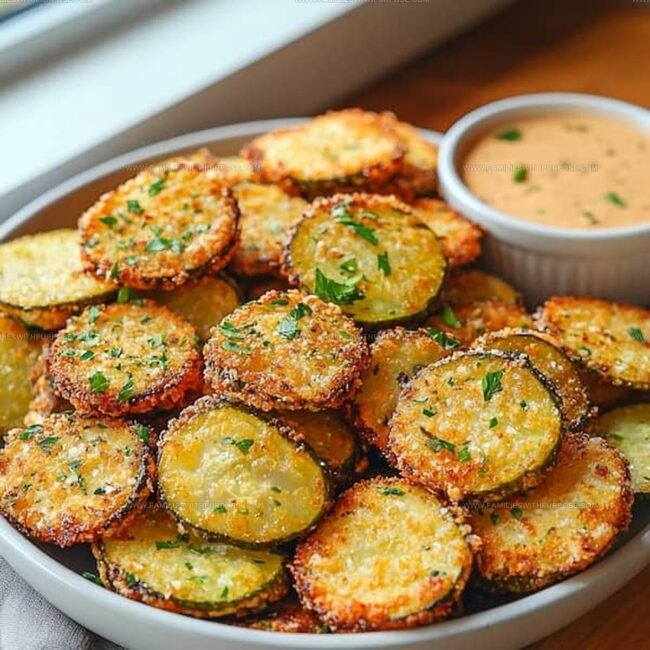
Serve and Enjoy
Arrange the crispy fried pickles on a serving plate. Place the dipping sauce in a small bowl on the side. Grab a cold drink and get ready for a seriously tasty snack!
Key Cooking Notes For Fried Pickles
Creative Variations for Fried Pickles
Easy Serving Options for Fried Pickles
How To Store Fried Pickles
Commonly Asked Questions for Fried Pickles
Why do I need to dry the pickle chips thoroughly?
Moisture creates steam during frying, which prevents getting that perfect crispy coating. Dry pickles help ensure a crunchy exterior that sticks beautifully.
Can I use regular milk instead of buttermilk?
Buttermilk provides tanginess and helps the breading adhere better. Regular milk works, but the flavor and coating won’t be as rich and delicious.
How do I know the oil is hot enough for frying?
Drop a small bread cube into the oil – if it sizzles immediately, the temperature is perfect for golden, crispy pickles without absorbing too much oil.
What if my breading doesn’t stick to the pickles?
Make sure to pat the pickles completely dry, dip in buttermilk first, then press the flour mixture firmly onto each slice to create a solid coating.
Can I make these pickles ahead of time?
Fry them just before serving for maximum crispiness. The breaded pickles can sit for 15-20 minutes before cooking, but they’re best enjoyed fresh and hot.

Homemade Fried Pickles Recipe
- Total Time: 18-20 minutes
- Yield: 4 1x
Description
Crispy fried pickles offer bold crunch with Southern charm. Golden and seasoned, they’re always a crowd favorite.
Ingredients
Main Ingredients:
- 1 16-ounce jar dill pickle chips
- ½ cup all-purpose flour
- ½ cup cornmeal
- 2 cups oil for frying
Seasoning Ingredients:
- ½ teaspoon garlic powder
- ½ teaspoon paprika
- Salt to taste
- Pepper to taste
Liquid Ingredients:
- ½ cup buttermilk
Dipping Sauce Ingredients:
- ½ cup mayonnaise
- 1 tablespoon ketchup
- 1 teaspoon pickle juice
- ¼ teaspoon garlic powder
- 1 pinch paprika
- 1 pinch cayenne pepper
Instructions
- Drain 16-ounce jar of dill pickle chips completely. Pat pickles dry with paper towels, ensuring no moisture remains. Spread pickles on clean kitchen towel.
- Create breading mixture by combining ½ cup flour, ½ cup cornmeal, ½ teaspoon garlic powder, ½ teaspoon paprika, salt, and pepper in one bowl. Pour ½ cup buttermilk into separate bowl.
- Dunk each pickle slice into buttermilk, then coat thoroughly in flour mixture. Press gently to ensure even coverage. Shake off excess breading.
- Pour vegetable oil into large skillet, filling 1 inch deep. Heat to 350°F, checking temperature with kitchen thermometer. Oil should sizzle immediately when small bread crumb is dropped.
- Carefully place breaded pickle chips into hot oil. Fry 1-2 minutes per side until golden brown and crispy. Work in small batches to prevent overcrowding.
- Remove fried pickles using slotted spoon. Place on paper towel-lined plate to drain excess oil. Sprinkle lightly with salt while still hot.
- Prepare dipping sauce by mixing ½ cup mayonnaise, 1 tablespoon ketchup, 1 teaspoon pickle juice, ¼ teaspoon garlic powder, and pinch of paprika in small bowl. Stir until smooth.
- Serve pickles immediately with prepared sauce on side. Enjoy while crispy and warm.
Notes
- Pat pickles completely dry to ensure maximum crispiness and prevent oil splatters during frying.
- Use cold buttermilk for better coating adhesion and a crunchier breading that sticks to each pickle slice.
- For gluten-free options, swap wheat flour with rice flour or a gluten-free cornmeal blend to maintain the same crispy texture.
- Serve immediately after frying to preserve the perfect crunch, and don’t crowd the pan to keep the oil temperature consistent and prevent soggy results.
- Prep Time: 10 minutes
- Cook Time: 8-10 minutes
- Category: Fried
- Method: Frying
- Cuisine: American
Nutrition
- Serving Size: 4
- Calories: 260 kcal
- Sugar: 2 g
- Sodium: 700 mg
- Fat: 20 g
- Saturated Fat: 3.5 g
- Unsaturated Fat: 15 g
- Trans Fat: 0 g
- Carbohydrates: 15 g
- Fiber: 1.5 g
- Protein: 4 g
- Cholesterol: 20 mg
Sophie Lane
Recipe Developer
Expertise
Family-friendly Meals, Simple Healthy Cooking, Ingredient Substitutions, Beginner-friendly Recipes, Flexible Meal Prep
Education
- Program: Professional Cook Certificate
- Focus: Online culinary training covering knife skills, cooking techniques, and plant-based and modern cooking approaches.
Schoolcraft CollegeSophie brings a calm and flexible approach to Families With Purpose. Based in Fort Collins, Colorado, she creates recipes that feel simple, clear, and easy to make at home. She focuses on family-friendly meals, healthy everyday cooking, ingredient swaps, and beginner-friendly ideas. Sophie helps make each recipe approachable and easy to follow, especially for busy families who need meals that can bend with the day.