Crispy Honey Butter Fried Chicken Recipe That Crackles With Flavor
Honey butter fried recipes have become a sensation for good reason, combining sweet and savory elements in ways that feel both comforting and exciting.
The contrast between golden crispiness and luscious sweetness creates an experience that works beautifully for any occasion, from casual weeknight dinners to special gatherings.
What makes this style so appealing is how it balances richness without overwhelming the palate, offering satisfaction in every bite.
The caramelized notes from honey pair naturally with buttery flavors, while the fried exterior adds textural interest that keeps things interesting.
Whether served as a main course or shared as an appetizer, the combination never fails to impress.
There's something universally satisfying about this flavor profile that crosses age groups and preferences effortlessly.
Why Honey Butter Fried Chicken Works
What Makes Honey Butter Fried Dishes Work
Main Protein:Coating and Seasoning:Wet Ingredients and Garnishes:Which Tools Fry Honey Butter Chicken
Simple Method for Honey Butter Fried Dish
Marinate Chicken
Grab those chicken thighs and slice them into neat 1-inch chunks. In a big mixing bowl, pour in 1 cup buttermilk and 1 tablespoon hot sauce. Sprinkle in your seasonings:
Mix everything until the chicken gets a nice, even coating. Seal the bowl and park it in the refrigerator for a solid 2 hours – overnight works even better for max flavor.
Mix Dredging Mixture
Grab a shallow dish and combine your dry ingredients for that perfect crispy coating. Toss together:
Whisk until everything looks evenly mixed.
Create Honey Butter
Snag a medium bowl and blend your butter mixture until it’s light and creamy. Combine:
Beat with a mixer for 2-3 minutes until it looks fluffy and delicious.
Prepare for Frying
Heat 4-6 cups vegetable oil in a heavy pot to 325-350F. This temperature matters – it makes all the difference for crispy chicken.
Drain Chicken
Pull chicken out of the marinade and let excess liquid drip off. Don’t rush this part.
Coat Chicken
Roll each chicken piece in your flour mixture. Press firmly so the coating sticks like a dream.
First Batch Frying
Gently lower coated chicken pieces into hot oil. Don’t crowd the pot – give each piece space.
Cook Thoroughly
Fry for 6-8 minutes per side. You’re aiming for golden brown with an internal temp of 165F.
Drain Excess Oil
Use a slotted spoon to transfer chicken onto a wire rack with paper towels. This keeps everything crisp.
Repeat Frying
Continue frying remaining chicken, adjusting oil temperature as needed.
Serve and Garnish
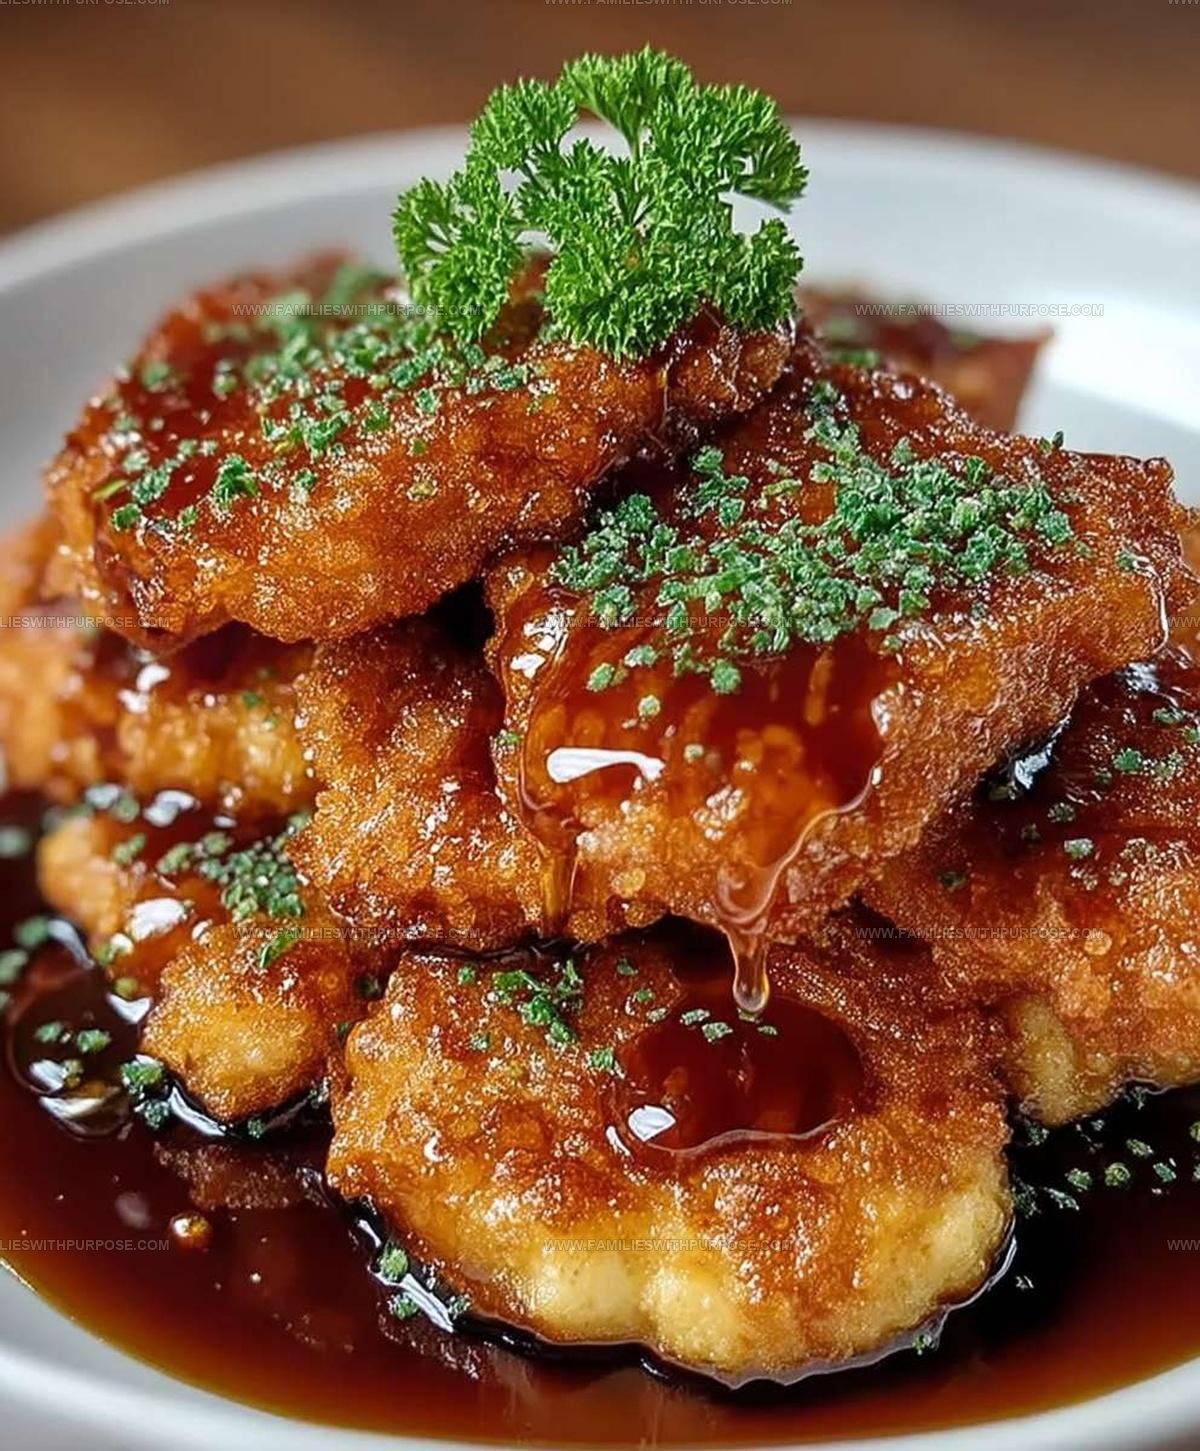
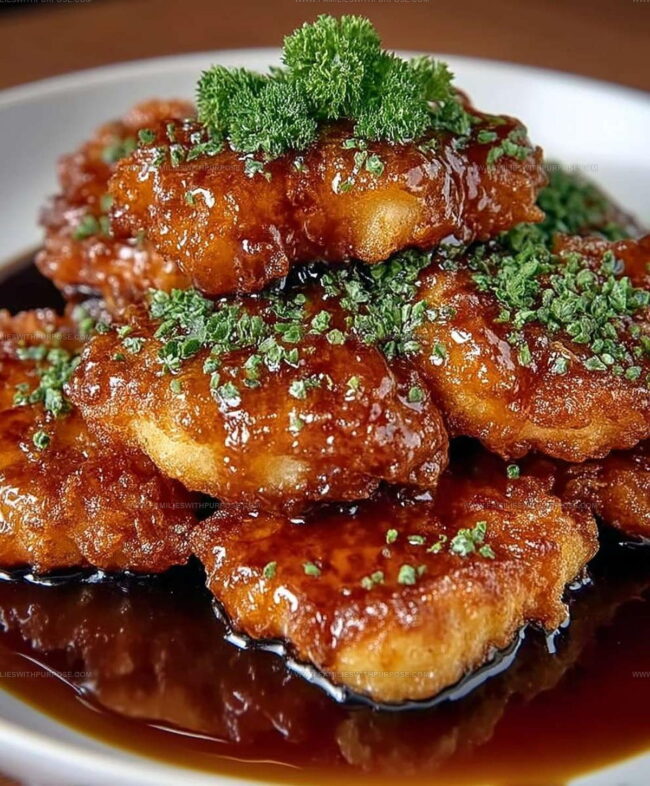
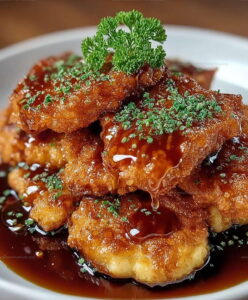
Arrange crispy chicken on a platter. Drizzle with honey butter. Sprinkle some chopped parsley, red pepper flakes, and sesame seeds on top for extra pizzazz.
Easy Tips for Honey Butter Fried Dishes
Crispy Honey Butter Fried Variations to Try
How to Serve Honey Butter Fried Dishes
Best Storage Tips for Honey Butter Fried Dishes
Honey Butter Fried Dishes Common Questions
What makes the buttermilk important in this recipe?
Buttermilk helps tenderize your chicken and adds a tangy flavor that makes the meat super juicy and flavorful before frying.
Can I use regular milk instead of buttermilk?
Regular milk won’t give the same tender results. If you don’t have buttermilk, mix milk with a tablespoon of vinegar or lemon juice and let it sit for 5 minutes to create a similar effect.
How do I know when the chicken is perfectly cooked?
Use a meat thermometer to check that the internal temperature reaches 165F. The chicken should be golden brown on the outside and completely white (no pink) on the inside.
What type of oil works best for frying?
Vegetable or canola oil are ideal because they have high smoke points and neutral flavors that won’t interfere with the chicken’s taste.
Can I make the honey butter ahead of time?
Absolutely! Prepare the honey butter up to 3 days in advance and store it covered in the refrigerator. Just let it soften at room temperature before serving.
How do I keep the fried chicken crispy?
Let the chicken drain on a wire rack instead of paper towels, which can make the coating soggy. Serve immediately for maximum crispiness.
Honey Butter Fried Recipe
- Total Time: 2 hours 16-18 minutes
- Yield: 6 1x
Description
Honey Butter Chicken brings southern comfort straight to your plate with a delightful crispy crunch and sweet glaze that makes dinner feel like a warm hug. Grab your skillet and get ready to create a crowd-pleasing meal that’ll have everyone asking for seconds.
Ingredients
Main Protein:
- 2 lbs boneless, skinless chicken thighs
Coating and Seasoning:
- 2 cups all-purpose flour
- ½ cup cornstarch
- 1 tablespoon paprika
- 1 teaspoon cayenne pepper
- 1 teaspoon salt
- ½ teaspoon black pepper
- ½ teaspoon garlic powder
- ½ teaspoon onion powder
Wet Ingredients and Garnishes:
- 1 cup buttermilk
- 1 tablespoon hot sauce
- 4–6 cups vegetable oil
- ½ cup unsalted butter
- ¼ cup honey
- 1 tablespoon milk
- ¼ teaspoon salt
- Pinch of cinnamon
- Chopped fresh parsley
- Red pepper flakes
- Sesame seeds
Instructions
- Submerge 2 lbs of chicken thigh pieces in a mixture of 1 cup buttermilk, 1 tablespoon hot sauce, 1 teaspoon salt, ½ teaspoon black pepper, ½ teaspoon garlic powder, and ½ teaspoon onion powder. Cover and refrigerate for at least 2 hours or overnight to allow deep flavor penetration.
- Whisk together 2 cups flour, ½ cup cornstarch, 1 tablespoon paprika, and 1 teaspoon cayenne pepper in a shallow dish. This creates your crispy coating station.
- Blend ½ cup softened butter, ¼ cup honey, 1 tablespoon milk, ¼ teaspoon salt, and a pinch of cinnamon until smooth and creamy, about 2-3 minutes.
- Pour 4-6 cups vegetable oil into a heavy pot. Heat to a precise 340F, monitoring temperature with a kitchen thermometer.
- Remove chicken from marinade, allowing excess liquid to drip off naturally.
- Roll each chicken piece completely in the flour mixture, pressing firmly to ensure a thick, even coating.
- Gently lower coated chicken pieces into 340F oil, spacing them to prevent overcrowding.
- Fry each batch for 6-8 minutes, turning once, until your chicken reaches a deep golden brown and internal temperature hits 165F.
- Transfer fried chicken to a wire rack lined with paper towels, letting excess oil drain for maximum crispiness.
- Drizzle warm honey butter generously over the chicken or serve in a separate bowl for dipping.
- Garnish with fresh chopped parsley, red pepper flakes, and sesame seeds for added texture and visual appeal.
Notes
- Marinating overnight transforms the chicken’s texture, making it incredibly tender and deeply seasoned with flavor.
- Use a reliable meat thermometer to ensure chicken reaches 165F, which guarantees safe and perfectly cooked meat without drying out.
- For extra crispiness, let dredged chicken rest on a wire rack for 10-15 minutes before frying to help the coating adhere better.
- Gluten-free alternatives work great by substituting all-purpose flour with rice flour or gluten-free blend, maintaining the same delicious crunch.
- Prep Time: 2 hours 10 minutes
- Cook Time: 6-8 minutes
- Category: Fried
- Method: Frying
- Cuisine: American
Nutrition
- Serving Size: 6
- Calories: 503 kcal
- Sugar: 7 g
- Sodium: 420 mg
- Fat: 30 g
- Saturated Fat: 13 g
- Unsaturated Fat: 15 g
- Trans Fat: 0.5 g
- Carbohydrates: 32 g
- Fiber: 1.5 g
- Protein: 29 g
- Cholesterol: 115 mg
Mason Carter
Founder
Expertise
Family Meal Routines, Simple One-pot Meals, Budget-friendly Cooking, Quick Dinner Planning, Batch Cooking Systems
Education
- Certificate: Culinary Arts
- Focus: Training in core cooking techniques, kitchen operations, and real food preparation through hands-on experience in professional-style kitchens.
Penn Foster Career School (Online)Mason is the founder of Families With Purpose and the heart behind its simple, family-focused recipes. Based in Greenville, South Carolina, he creates meals that fit into busy routines and bring people back to the table. He focuses on easy dinners, one-pot meals, budget-friendly cooking, and practical weekly meal planning. Mason has built a recipe collection shaped by real family life, with clear methods and repeatable meals that work on everyday schedules.