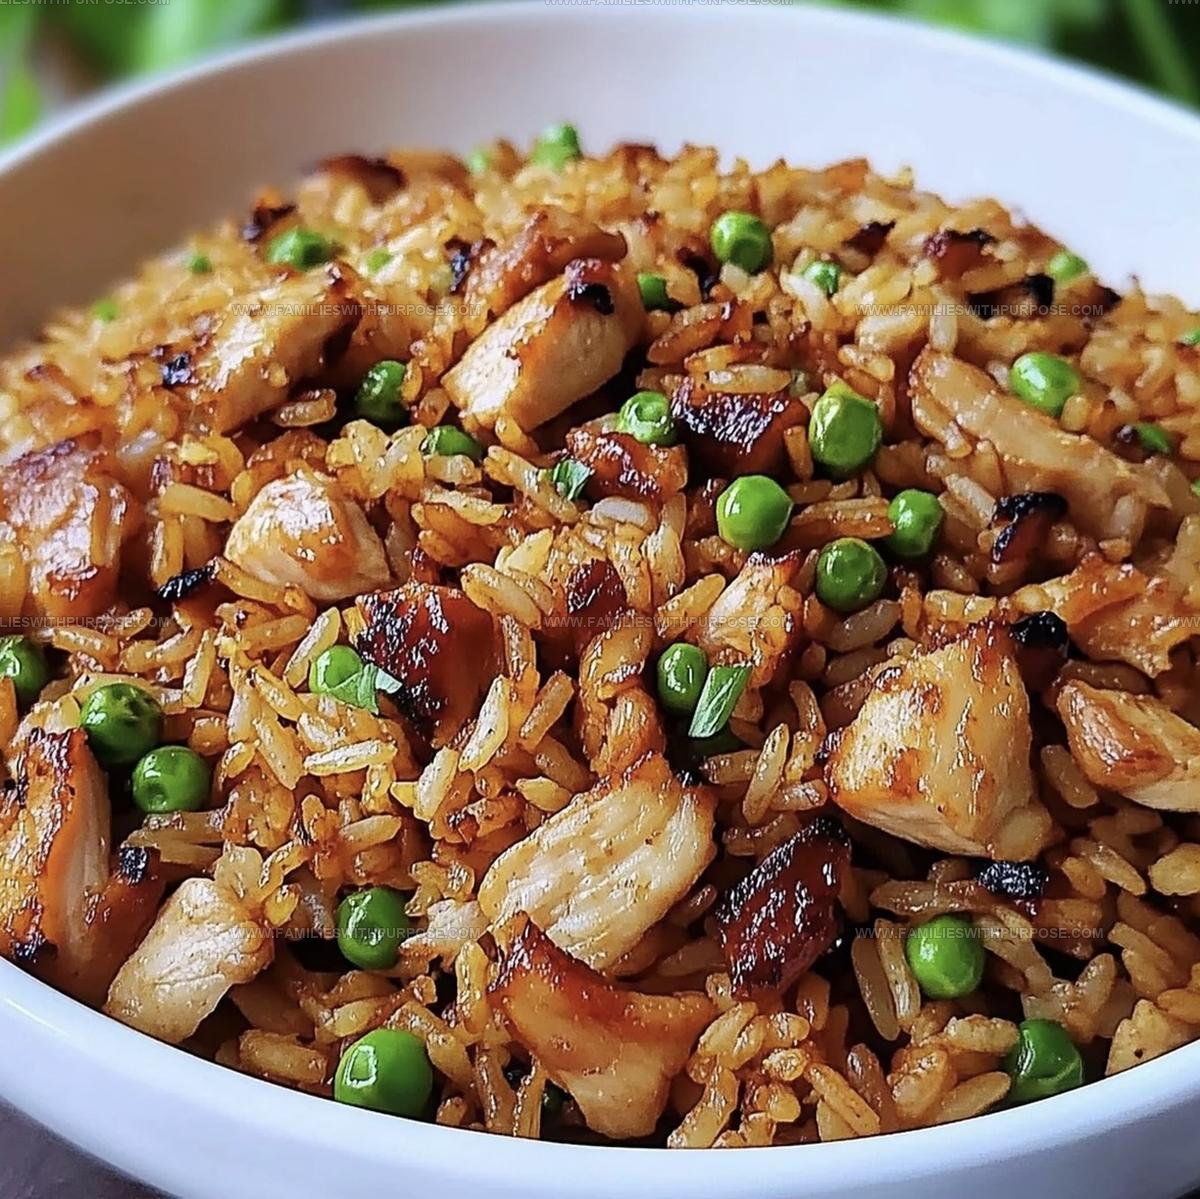
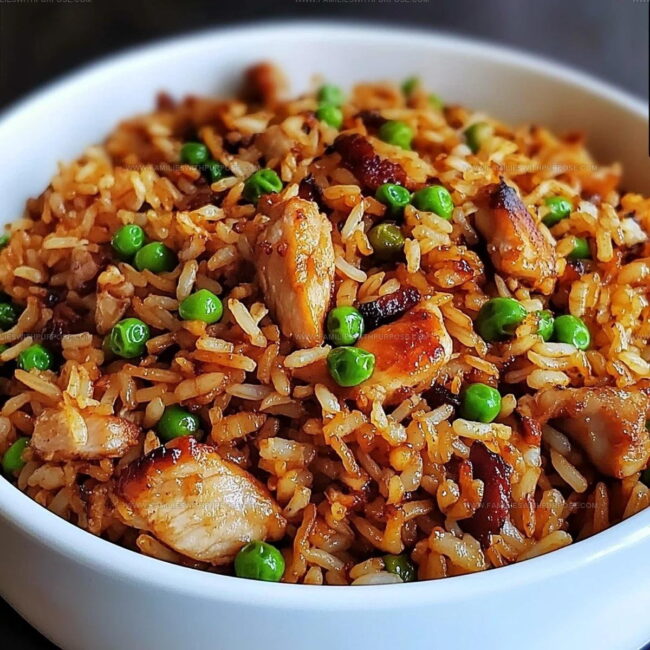
Japanese BBQ Chicken Fried Rice Recipe That Packs Bold Flavor
Sizzling japanese bbq chicken fried rice promises a mouthwatering journey through bold Asian-inspired flavors.
Comfort food meets gourmet excitement in this incredible one-pan meal that sparks serious dinner inspiration.
Weeknight cooking just got substantially more delicious with a recipe combining smoky char and rich umami notes.
Seasoned home chefs and cooking novices alike will adore how quickly this dish comes together.
Japanese grilling techniques merge seamlessly with classic fried rice foundations, creating something truly spectacular.
Complex flavor profiles dance across your plate, promising a dining experience that feels both familiar and extraordinary.
Hungry dinner crowds will absolutely devour every single delectable bite of this satisfying creation.
What Sets Japanese Bbq Chicken Fried Rice Apart
Ingredient List for Japanese BBQ Chicken Fried Rice
Main Protein and Base:Vegetables and Aromatics:Sauce and Seasoning:Essential Kitchen Tools for Japanese Bbq Chicken Fried Rice
Preparation Steps for Japanese BBQ Chicken Fried Rice
Scramble Eggs
Crack those 2 large eggs into a bowl and whisk them up with a pinch of salt and pepper. Pour the eggs into a hot skillet set at medium-high heat (375°F). Gently move them around until they’re just set and fluffy, which takes about 2-3 minutes. Scoop the eggs out and set them aside on a clean plate.
Toast the Veggies
Without washing the pan, drizzle in 1 tablespoon of sesame oil. Dump in 1 cup of frozen peas and carrots. Let them sizzle and dance around the pan for 5-7 minutes at medium-high heat (375°F) until they’re tender and slightly golden.
Build the Fried Rice
Toss 3 cups of cooked rice into the pan with your veggies. Add 2 cups of diced chicken and those scrambled eggs you made earlier. Pour in your flavor heroes:
Stir everything together, breaking up any rice clumps. Keep the heat at medium-high (375°F) and let everything get super friendly for 5-7 minutes.
Finish and Garnish
Sprinkle 2 sliced green onions on top for a fresh, zippy finish. Serve hot and get ready to enjoy a seriously tasty meal.
Helpful Cooking Notes For Japanese BBQ Chicken Fried Rice
Flavor Twists For Japanese BBQ Chicken Fried Rice
Best Serving Options For Japanese Bbq Chicken Fried Rice
Storage And Reheating Notes For Japanese BBQ Chicken Fried Rice
Japanese Bbq Chicken Fried Rice FAQs
What kind of rice works best for this recipe?
Day-old, cold rice is perfect because it separates easily and prevents your fried rice from becoming mushy. Jasmine or long-grain white rice hold their shape beautifully.
Can frozen vegetables replace fresh ones?
Absolutely – frozen peas and carrots are convenient and work perfectly in this recipe. They cook quickly and add great color and nutrition to your dish.
How spicy is Japanese BBQ sauce?
Most Japanese BBQ sauces have a mild, sweet-savory flavor with just a hint of heat. If your sauce seems too mild, you can add a dash of sriracha or red pepper flakes.
Should the chicken be pre-cooked?
Yes, use leftover or freshly cooked chicken cut into small, uniform pieces. This ensures even cooking and helps distribute flavor throughout the fried rice.
What if I don’t have a wok?
A large skillet works wonderfully. The key is having a pan that conducts heat evenly and allows ingredients to stir-fry without steaming.
Can this recipe be made vegetarian?
Replace chicken with tofu, tempeh, or additional vegetables like mushrooms or bell peppers for a delicious plant-based version.

Japanese BBQ Chicken Fried Rice Recipe
- Total Time: 12-17 minutes
- Yield: 4 1x
Description
Sizzling Japanese BBQ Chicken Fried Rice brings bold Asian flavors right to your dinner table, blending tender grilled chicken with perfectly seasoned rice that delivers a mouthwatering twist on a classic comfort dish.
Ingredients
Main Ingredients:
- 3 cups rice
- 2 cups chicken
- 2 large eggs
Vegetables and Aromatics:
- 1 cup frozen peas and carrots
- 2 green onions
Sauces and Seasonings:
- ¼ cup Japanese BBQ sauce
- 2 tablespoons soy sauce
- 1 tablespoon sesame oil
Instructions
- Crack 2 large eggs into a bowl and whisk thoroughly. Season with a pinch of salt and pepper.
- Heat a skillet over medium-high heat at 375°F. Pour whisked eggs and cook for 2-3 minutes, stirring constantly until just scrambled. Transfer eggs to a separate plate.
- Pour 1 tablespoon sesame oil into the same skillet. Add 1 cup frozen peas and carrots and sauté for 5-7 minutes until vegetables are tender and slightly caramelized.
- Add 3 cups cooked rice to the skillet. Stir and spread rice evenly, allowing it to develop crispy edges for 2-3 minutes.
- Mix in 2 cups diced cooked chicken, previously scrambled eggs, ¼ cup Japanese BBQ sauce, and 2 tablespoons soy sauce. Toss ingredients thoroughly for 4-5 minutes.
- Ensure all components are heated evenly and rice is slightly crispy. Remove from heat.
- Garnish with 2 sliced green onions, distributing them across the surface of the fried rice.
Notes
- Scramble eggs gently to keep them soft and fluffy, avoiding overcooking which can make them rubbery.
- Use day-old cold rice for the best texture, as freshly cooked rice can become mushy when stir-fried.
- Choose a high-heat cooking oil like sesame or vegetable oil to prevent sticking and achieve that classic crispy fried rice edge.
- For a gluten-free version, swap soy sauce with tamari and ensure your BBQ sauce is gluten-free.
- Prep Time: 2-3 minutes
- Cook Time: 10-14 minutes
- Category: Stir-Fried
- Method: Sautéing
- Cuisine: Japanese
Nutrition
- Serving Size: 4
- Calories: 360 kcal
- Sugar: 5 g
- Sodium: 720 mg
- Fat: 12 g
- Saturated Fat: 2.5 g
- Unsaturated Fat: 7.5 g
- Trans Fat: 0 g
- Carbohydrates: 40 g
- Fiber: 3 g
- Protein: 27 g
- Cholesterol: 110 mg
Sophie Lane
Recipe Developer
Expertise
Family-friendly Meals, Simple Healthy Cooking, Ingredient Substitutions, Beginner-friendly Recipes, Flexible Meal Prep
Education
- Program: Professional Cook Certificate
- Focus: Online culinary training covering knife skills, cooking techniques, and plant-based and modern cooking approaches.
Schoolcraft CollegeSophie brings a calm and flexible approach to Families With Purpose. Based in Fort Collins, Colorado, she creates recipes that feel simple, clear, and easy to make at home. She focuses on family-friendly meals, healthy everyday cooking, ingredient swaps, and beginner-friendly ideas. Sophie helps make each recipe approachable and easy to follow, especially for busy families who need meals that can bend with the day.