Crispy Pepperoni Pizzadillas Recipe for Quick Dinner Cravings
Pepperoni pizzadillas deliver all the satisfaction of pizza night with a fun handheld twist that makes dinner exciting again.
The crispy exterior paired with melty goodness inside creates a textbook comfort food experience everyone craves after a long day.
This fusion favorite works beautifully for quick weeknight meals, game day gatherings, or whenever hunger strikes without warning.
The concept marries two beloved dishes into one craveable creation that feels both familiar and refreshingly different.
Kids devour them in minutes while adults appreciate how simple they are to prepare when time runs short.
Busy schedules meet delicious solutions in under 20 minutes from start to finish.
Fire up that skillet and watch how fast these disappear from the plate!
The Playful, Cheesy Fusion of Flavor inside Every Pepperoni Pizzadilla
Pepperoni Sauce Cheese And Tortillas Of These Pizzadillas
Searing Hardware And Slicing Tools For Pepperoni Pizzadillas
How to Achieve Golden Edges on Crispy Pizzadillas
Warm Tortillas
Take your two 8-inch flour tortillas and warm them gently to make folding easier. This helps prevent cracking when your pizzadilla comes together.
Sauce and Cheese Base
Spread 2 tablespoons of pizza sauce across one tortilla, creating a smooth, even layer. Sprinkle ¼ cup (or half) of your shredded mozzarella cheese directly over the sauce.
Add Pepperoni Layer
Arrange 10-12 pepperoni slices across the cheese, covering the surface evenly. If your taste buds are calling for extra flavor, now’s the time to add any bonus ingredients like:
Top and Seal
Cover the pepperoni layer with the remaining ¼ cup mozzarella cheese. Place the second tortilla on top, pressing down gently to seal everything inside.
Grill to Golden
Melt 1 tablespoon butter in a non-stick skillet over medium heat (set to 350°F). Carefully transfer your pizzadilla into the pan. Cook for 2-3 minutes until the bottom turns golden brown.
Flip and Finish
Flip the pizzadilla, cooking the second side for another 2-3 minutes. Sprinkle 1 tablespoon grated Parmesan and ½ teaspoon Italian seasoning over the top if desired.
Serve and Enjoy
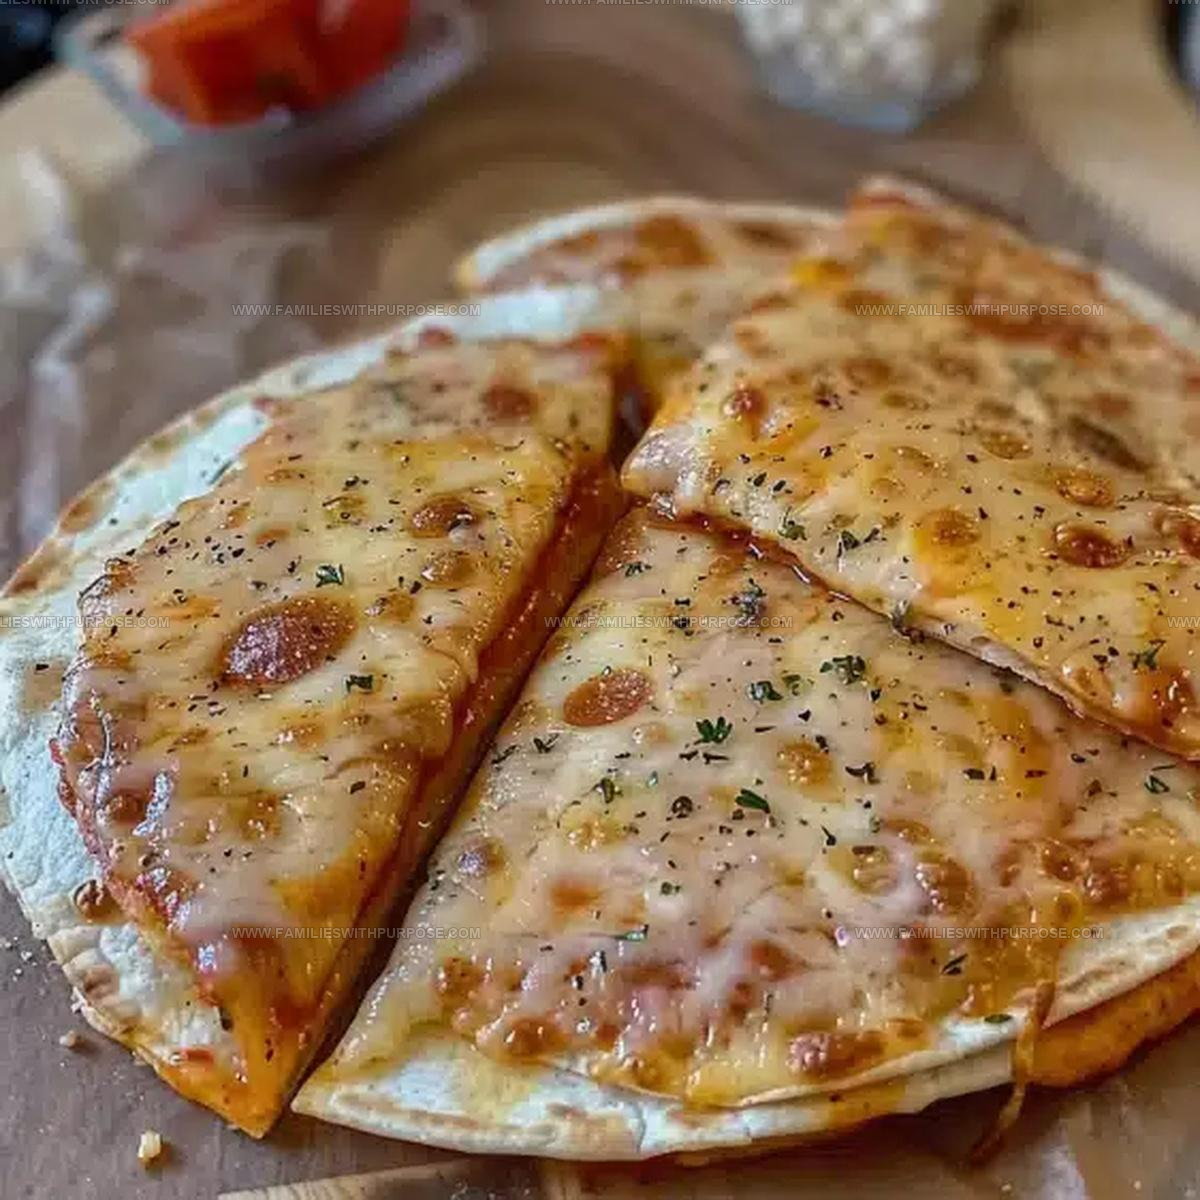
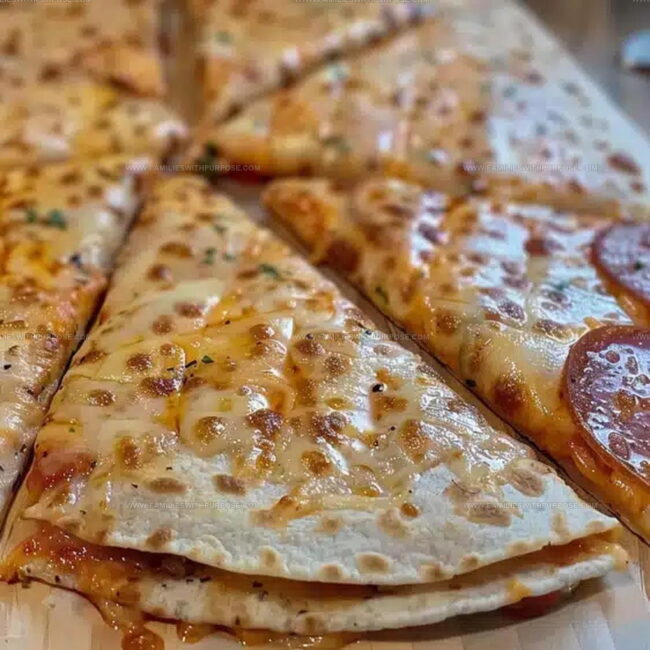
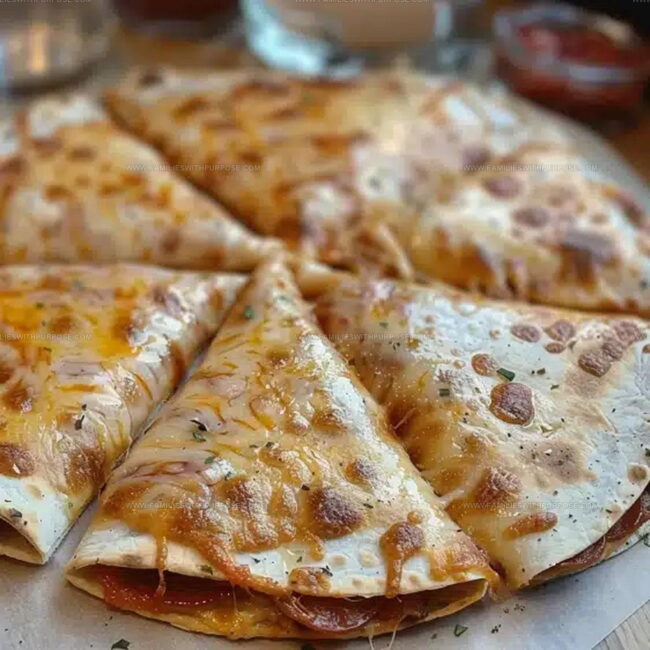
Let your pizzadilla rest for 1-2 minutes. Slice into wedges using a pizza cutter. Serve hot with extra pizza sauce for dipping, and add a pinch of red pepper flakes if you’re craving some heat.
Crisping Tactics To Perfect Pepperoni Pizzadillas
Pizza-Inspired Flips For Pepperoni Pizzadillas
Crispy Handheld Snack Presentations For Pizzadillas
Crispy Handheld Snack Longevity Maneuvers For Pizzadillas
Pepperoni Pizzadillas FAQs and Quick Snack Tips
Can I use different types of tortillas?
Absolutely! Flour tortillas work best, but corn tortillas can add a nice crunch. Choose whatever suits your taste and dietary needs.
How do I prevent the pizzadilla from falling apart?
Press the edges with a fork to seal them, and avoid overfilling. A gentle touch when flipping helps keep everything together.
What cheese alternatives work well?
Provolone, cheddar, or pepper jack are fantastic substitutes for mozzarella. Just pick a cheese that melts smoothly.
Are there vegetarian options for this recipe?
Swap pepperoni with roasted vegetables, mushrooms, or plant-based pepperoni alternatives. The key is keeping the filling thin and even.
Can I make these ahead of time?
Prep the pizzadillas and store them uncooked between parchment paper in the refrigerator. Cook within 24 hours for best results.
What if I don’t have a non-stick skillet?
A well-seasoned cast iron pan works perfectly. Just use a little extra butter or oil to prevent sticking.

Pepperoni Pizzadillas Recipe
- Total Time: 9-11 minutes
- Yield: 2 1x
Description
Pepperoni pizzadillas merge the best of pizza and quesadillas for a quick, crowd-pleasing snack that comes together faster than ordering takeout. Crispy tortillas packed with melty cheese and spicy pepperoni make this fusion dish a total game-changer for your weeknight dinner routine.
Ingredients
Main Ingredients:
- 2 flour tortillas
- 10–12 slices pepperoni
- ½ cup shredded mozzarella cheese
Supporting Ingredients:
- 2 tablespoons pizza sauce
- 1 tablespoon butter
- 1 tablespoon grated Parmesan cheese
Seasoning and Optional Ingredients:
- ½ teaspoon Italian seasoning
- Red pepper flakes
Instructions
- Collect 2 (8-inch) flour tortillas, ½ cup mozzarella cheese, 10-12 pepperoni slices, 2 tablespoons pizza sauce, 1 tablespoon butter, and optional seasonings on your kitchen counter.
- Warm tortillas for 15 seconds in microwave to increase flexibility and prevent cracking during assembly.
- Spread 1 tablespoon pizza sauce evenly across one tortilla, leaving a small border around the edges to prevent leaking.
- Sprinkle ¼ cup mozzarella cheese over the sauce, covering the surface completely.
- Arrange 5-6 pepperoni slices across the cheese in a single layer, ensuring even distribution.
- Add optional toppings like sliced mushrooms or olives across the pepperoni if desired.
- Cover with remaining ¼ cup mozzarella cheese to help seal the toppings.
- Place second tortilla on top, gently pressing down to create a sealed package.
- Melt 1 tablespoon butter in a 10-inch non-stick skillet over medium heat (350°F).
- Carefully transfer assembled pizzadilla to hot skillet, cooking for 2-3 minutes until bottom turns golden brown.
- Flip pizzadilla using a wide spatula, cooking opposite side for additional 2-3 minutes until cheese melts completely.
- Sprinkle 1 tablespoon Parmesan and ½ teaspoon Italian seasoning over top after flipping.
- Transfer to cutting board and let rest for 1 minute to allow cheese to set.
- Slice into 4-6 wedges using a pizza cutter or sharp knife.
- Serve immediately with extra pizza sauce for dipping.
Notes
- Choose a high-quality pepperoni that isn’t too greasy for the best flavor and texture in your pizzadillas.
- Warm tortillas briefly before assembling to prevent cracking and make them more pliable when folding.
- For a crispy exterior, press the pizzadilla gently with a spatula while cooking to ensure even browning and melting.
- Swap pepperoni with vegetarian options like mushrooms or bell peppers for a meat-free version that’s just as delicious.
- Prep Time: 5 minutes
- Cook Time: 4-6 minutes
- Category: Sautéed
- Method: Sautéing
- Cuisine: Italian-American
Nutrition
- Serving Size: 2
- Calories: 530 kcal
- Sugar: 4 g
- Sodium: 1100 mg
- Fat: 35 g
- Saturated Fat: 14 g
- Unsaturated Fat: 18 g
- Trans Fat: 0.5 g
- Carbohydrates: 30 g
- Fiber: 2 g
- Protein: 22 g
- Cholesterol: 70 mg
Sophie Lane
Recipe Developer
Expertise
Family-friendly Meals, Simple Healthy Cooking, Ingredient Substitutions, Beginner-friendly Recipes, Flexible Meal Prep
Education
- Program: Professional Cook Certificate
- Focus: Online culinary training covering knife skills, cooking techniques, and plant-based and modern cooking approaches.
Schoolcraft CollegeSophie brings a calm and flexible approach to Families With Purpose. Based in Fort Collins, Colorado, she creates recipes that feel simple, clear, and easy to make at home. She focuses on family-friendly meals, healthy everyday cooking, ingredient swaps, and beginner-friendly ideas. Sophie helps make each recipe approachable and easy to follow, especially for busy families who need meals that can bend with the day.