Honey Garlic Chicken Recipe That Creates Golden Caramelized Perfection
Succulent honey garlic chicken promises a delightful meal that transforms weeknight dinners from ordinary to extraordinary.
Rich, sweet, and savory flavors dance across your palate with every tender bite.
Home cooks adore this crowd-pleasing recipe for its simplicity and incredible taste profile.
Minimal ingredients combine to create maximum satisfaction, making it perfect for busy families seeking delicious comfort food.
Restaurants charge premium prices for similar dishes, but you can easily master this restaurant-worthy recipe in your own kitchen.
Impressive yet approachable, honey garlic chicken delivers a perfect balance of classic flavor combinations that will have everyone asking for seconds.
Prepare to become the dinner hero with this mouthwatering meal that guarantees smiles around the table.
Why Honey Garlic Chicken Never Disappoints
Core Ingredients for Honey Garlic Chicken
Main Protein:Coating Ingredient:Sauce Ingredients:Cooking Fats:Seasoning:What Tools Do You Need for Honey Garlic Chicken
How Do You Prepare Honey Garlic Chicken
Prep the Protein
Grab your 4 chicken thighs or breasts and give them a good pat down with paper towels to remove excess moisture. Season each piece generously with salt and pepper. Dust the chicken with 1/4 cup of all-purpose flour, making sure to shake off any clumpy excess.
Golden Sear
Heat 2 tablespoons of vegetable oil in a skillet over medium heat (375°F). Carefully place your floured chicken pieces into the hot pan. Cook for 4-5 minutes on each side until you see a beautiful golden-brown crust and the chicken is cooked through.
Flavor Magic Begins
Remove the chicken and set it aside. In the same skillet, drop in 2 tablespoons of butter. Toss in 4 minced garlic cloves and let them dance around for about 1 minute.
Sauce Creation
Time to build your sauce! Whisk in these ingredients:
Let the sauce simmer for 3-4 minutes until it starts to thicken and become glossy.
Bring It All Together
Slide the chicken back into the skillet, turning each piece to coat completely with the sticky, fragrant sauce. Let everything bubble together for 2-3 minutes so the flavors can mingle.
Serve and Enjoy
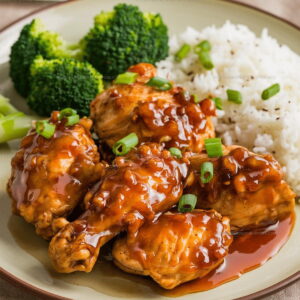
Transfer the chicken to your serving plate. Spoon any remaining sauce over the top. If you’re feeling fancy, sprinkle some chopped green onions or sesame seeds for extra pizzazz.
Practical Cooking Advice For Honey Garlic Chicken
Easy Variations For Honey Garlic Chicken
Classic Serving Ideas For Honey Garlic Chicken
Smart Storage Tips For Honey Garlic Chicken
Questions And Answers For Honey Garlic Chicken
Can I use chicken thighs instead of breasts?
Absolutely! Chicken thighs work great and often turn out more tender and flavorful. Just adjust cooking time slightly since thighs might take a bit longer to cook through.
How can I make this dish less sweet?
Reduce the honey amount or substitute with a portion of chicken broth. This balances the sweetness while maintaining the sauce’s rich flavor profile.
What if my sauce becomes too thick?
Simply add a splash of water or chicken broth to thin it out. Stir continuously and watch the consistency to get the perfect sauce texture.
Is there a gluten-free option for this recipe?
Replace all-purpose flour with cornstarch or gluten-free flour blend when dredging the chicken. Also, use tamari instead of regular soy sauce.
Can I prepare this chicken ahead of time?
Yes! Cook the chicken and sauce, then store separately in the refrigerator. Reheat gently in a skillet, adding a little extra liquid to prevent drying out.
How do I prevent the chicken from getting tough?
Don’t overcook! Use a meat thermometer and remove chicken when it reaches 165°F internal temperature. Let it rest for a few minutes before serving to keep it juicy.
Sticky Honey Garlic Chicken Recipe
- Total Time: 1 hour 59 minutes
- Yield: 4 1x
Description
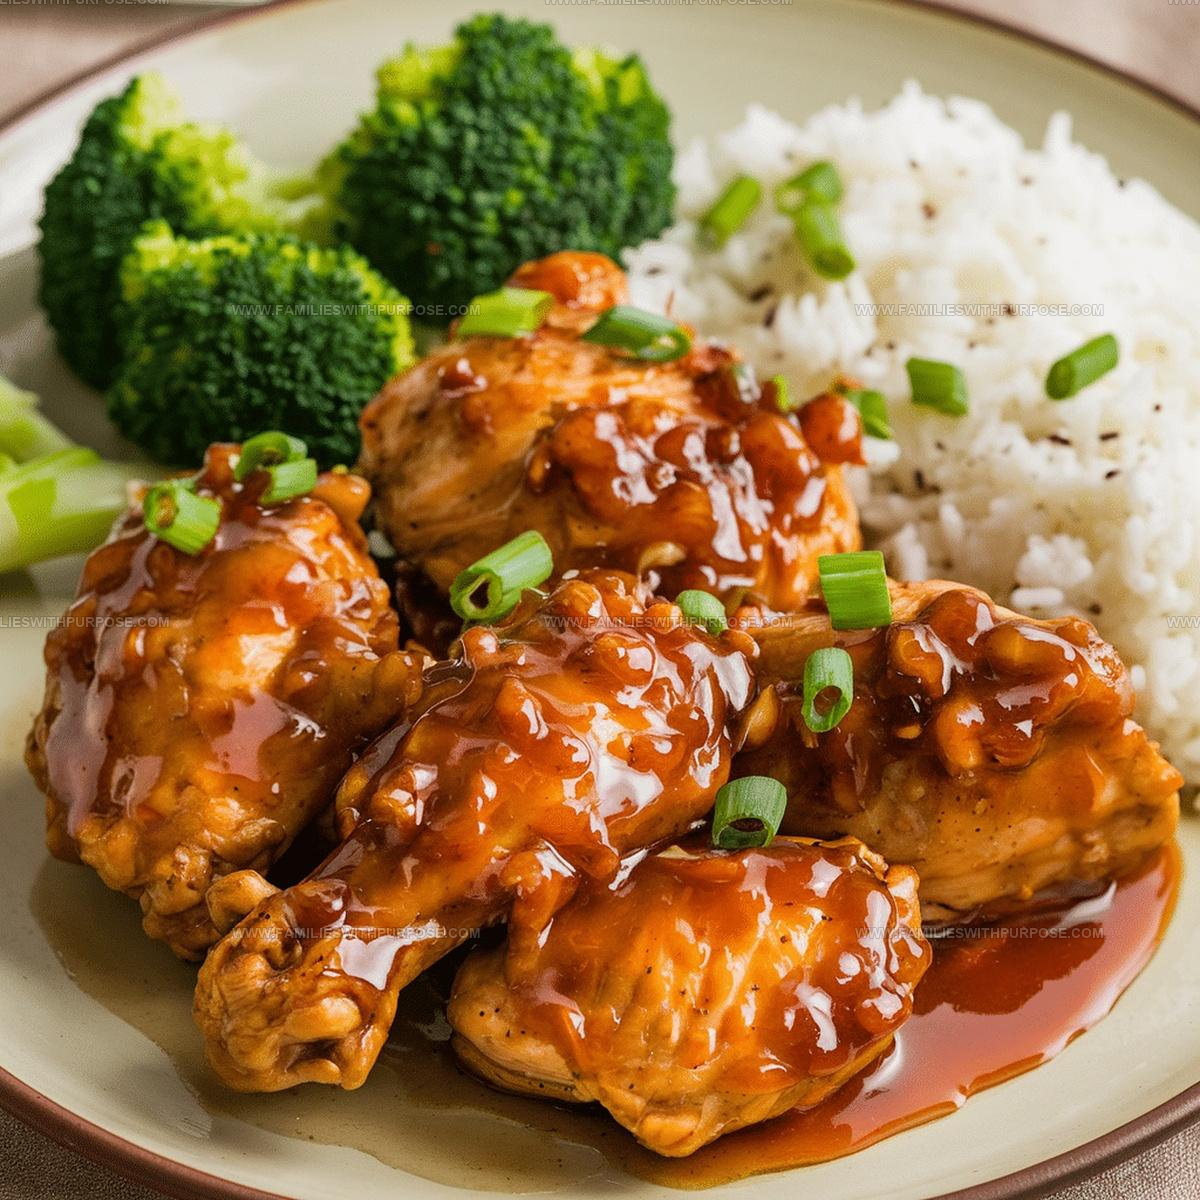
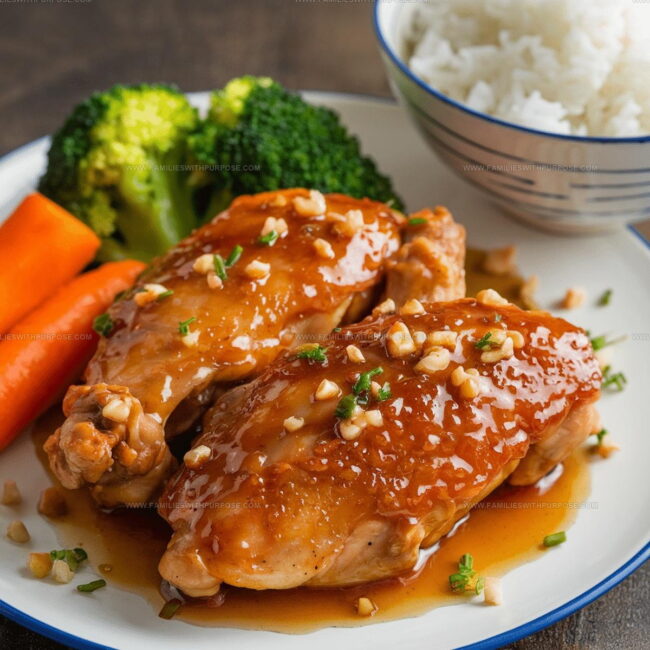
Honey Garlic Chicken delivers a mouthwatering combo of sweet and savory flavors that dance on your plate. Saucy, tender chicken pieces coated in a glossy garlic-honey glaze make dinner feel like a special treat.
Ingredients
Proteins:
- 4 chicken thighs or breasts
Sauces and Seasonings:
- ⅓ cup honey
- ¼ cup soy sauce
- ¼ cup all-purpose flour
- 2 tablespoons apple cider vinegar
- 4 cloves garlic
- Salt and pepper
Cooking Fats:
- 2 tablespoons vegetable oil
- 2 tablespoons butter
Instructions
- Dry 4 chicken pieces thoroughly with paper towels. Sprinkle each side generously with salt and pepper.
- Coat chicken completely in ¼ cup all-purpose flour, tapping off excess to create a light, even layer.
- Warm 2 tablespoons vegetable oil in a skillet over medium heat for 2-3 minutes until shimmering.
- Carefully place floured chicken into hot skillet. Cook 4-5 minutes per side until golden brown and internal temperature reaches 165°F.
- Remove chicken from skillet and transfer to a clean plate. Keep warm.
- Reduce heat to low and melt 2 tablespoons butter in same skillet. Add 4 minced garlic cloves and sauté 30-45 seconds.
- Pour ⅓ cup honey, ¼ cup soy sauce, and 2 tablespoons apple cider vinegar into skillet. Whisk continuously.
- Simmer sauce for 2-3 minutes until it thickens and becomes glossy, stirring occasionally.
- Return chicken to skillet, spooning sauce over each piece to coat completely.
- Allow chicken to reheat in sauce for 1-2 minutes, ensuring everything is warmed through.
- Transfer chicken to serving plates. Drizzle remaining sauce over top. Garnish with chopped green onions if desired.
Notes
- Ensure chicken is completely dry before dredging to achieve a crispy, golden exterior that locks in juiciness.
- Use a meat thermometer to check chicken reaches 165°F for safe, perfectly cooked protein without overcooking.
- For a gluten-free version, swap all-purpose flour with cornstarch or almond flour and use tamari instead of soy sauce.
- Let the sauce simmer and reduce slowly to develop deep, rich flavors that caramelize beautifully around the chicken.
- Prep Time: 5 minutes
- Cook Time: 1 hour 54 minutes
- Category: Sautéed
- Method: Sautéing
- Cuisine: American
Nutrition
- Serving Size: 4
- Calories: 370 kcal
- Sugar: 15 g
- Sodium: 700 mg
- Fat: 18 g
- Saturated Fat: 6 g
- Unsaturated Fat: 10 g
- Trans Fat: 0.1 g
- Carbohydrates: 20 g
- Fiber: 0.5 g
- Protein: 30 g
- Cholesterol: 90 mg
Mason Carter
Founder
Expertise
Family Meal Routines, Simple One-pot Meals, Budget-friendly Cooking, Quick Dinner Planning, Batch Cooking Systems
Education
- Certificate: Culinary Arts
- Focus: Training in core cooking techniques, kitchen operations, and real food preparation through hands-on experience in professional-style kitchens.
Penn Foster Career School (Online)Mason is the founder of Families With Purpose and the heart behind its simple, family-focused recipes. Based in Greenville, South Carolina, he creates meals that fit into busy routines and bring people back to the table. He focuses on easy dinners, one-pot meals, budget-friendly cooking, and practical weekly meal planning. Mason has built a recipe collection shaped by real family life, with clear methods and repeatable meals that work on everyday schedules.