Classic Fry Bread Recipe From Native American Kitchens
Traditional fry bread recipe enthusiasts know that few foods carry such deep cultural significance while delivering pure comfort in every bite.
Native American communities have passed down the art of making this golden, pillowy flatbread for generations, and it continues to hold a special place at gatherings, celebrations, and family tables across North America.
The beauty lies in how something so simple can be so incredibly satisfying, with a crispy exterior giving way to soft, tender layers inside.
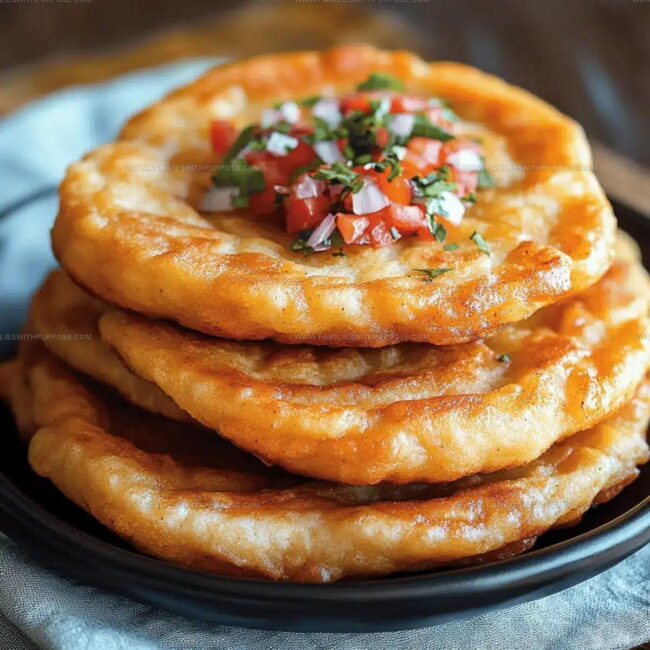
Whether served as a base for savory toppings or dusted with sweet finishes, this versatile bread adapts to any meal or occasion with ease.
Making it from scratch connects you to centuries of tradition while filling the kitchen with an aroma that draws everyone closer.
The process feels almost meditative once the rhythm becomes familiar, and the results never disappoint.
What makes this bread truly special is how it brings people together, creating moments worth remembering long after the last piece disappears.
What Makes Fry Bread More Than Just a Recipe
Fry Bread Ingredient Essentials
Dry Ingredients:Liquid Ingredients:Frying Ingredients:Tools Needed for a Classic Fry Bread Experience
Fry Bread Story Inspired Cooking Method
Prepare the Hot Oil
Heat 2 cups of vegetable oil in a deep fryer or large saucepan until it reaches exactly 375°F. This temperature ensures your bread will cook evenly and get that perfect golden crunch.
Mix the Dry Ingredients
Grab a large mixing bowl and toss in your dry ingredients:
Whisk these together until they’re well combined and look like a smooth, even mixture.
Create the Dough
Pour 2.5 cups of warm milk into your dry ingredients. Stir carefully until the mixture transforms into a soft, pliable dough that’s easy to handle. The consistency should be smooth and not too sticky.
Shape the Bread Rounds
Pinch off pieces of dough and roll them into eighteen small balls, each about 2 inches in diameter. Gently flatten each ball until it’s about half an inch thick. These will be your perfect bread rounds.
Fry the Bread
Carefully lower 3-4 dough rounds into the hot oil. Let them sizzle for 2-3 minutes on each side until they turn a beautiful golden brown. Watch them closely to prevent burning.
Drain and Cool
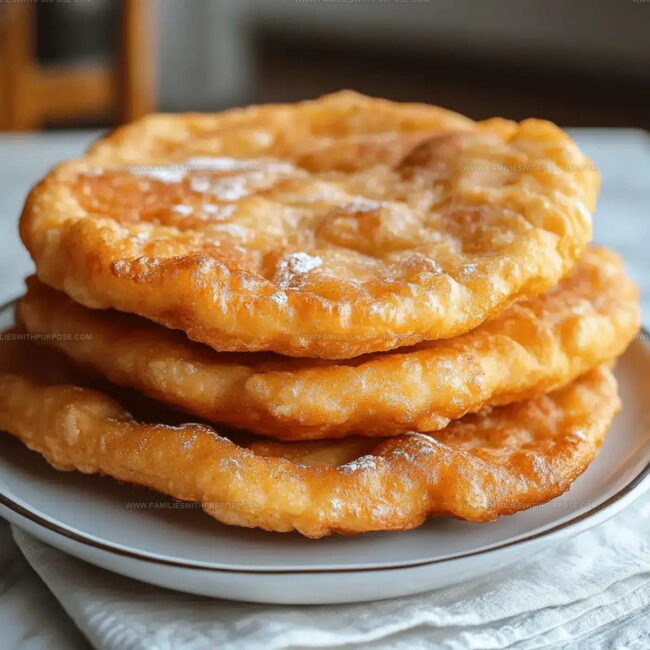
Using a slotted spoon, transfer the fried bread to a plate lined with paper towels. This helps soak up any extra oil, keeping your bread crisp and not greasy. Let them cool for a few minutes before serving.
Cooking Insights for Fry Bread
How Can You Reimagine Fry Bread
How to Serve Fry Bread
Fry Bread Storage After Cooking
Fry Bread Cooking Journey Reader Questions
Why do some dough rounds puff up more than others?
Different thickness and handling can affect how your bread rises. Gently flatten each round evenly to help them puff consistently.
Can fresh herbs work in this dough?
Absolutely – dried or chopped fresh herbs like rosemary or thyme mix beautifully into your dough for extra flavor.
What happens if the oil isn’t exactly 375°F?
Temperature matters. Too low makes greasy bread, too high burns the outside before cooking inside. Use a thermometer for best results.
Should the milk be a specific temperature?
Warm milk helps activate the baking powder and creates a softer dough texture. Aim for around 110°F – comfortable to touch.
Can this dough be made ahead of time?
Prepare the dough and refrigerate for up to 24 hours. Let it come to room temperature before shaping and frying.
How do I know when the bread is perfectly cooked?
Golden brown color and a light, crispy exterior with a soft interior indicate perfect frying. Test one round first to check cooking time.

Traditional Fry Bread Recipe
- Total Time: 25-27 minutes
- Yield: 8 1x
Description
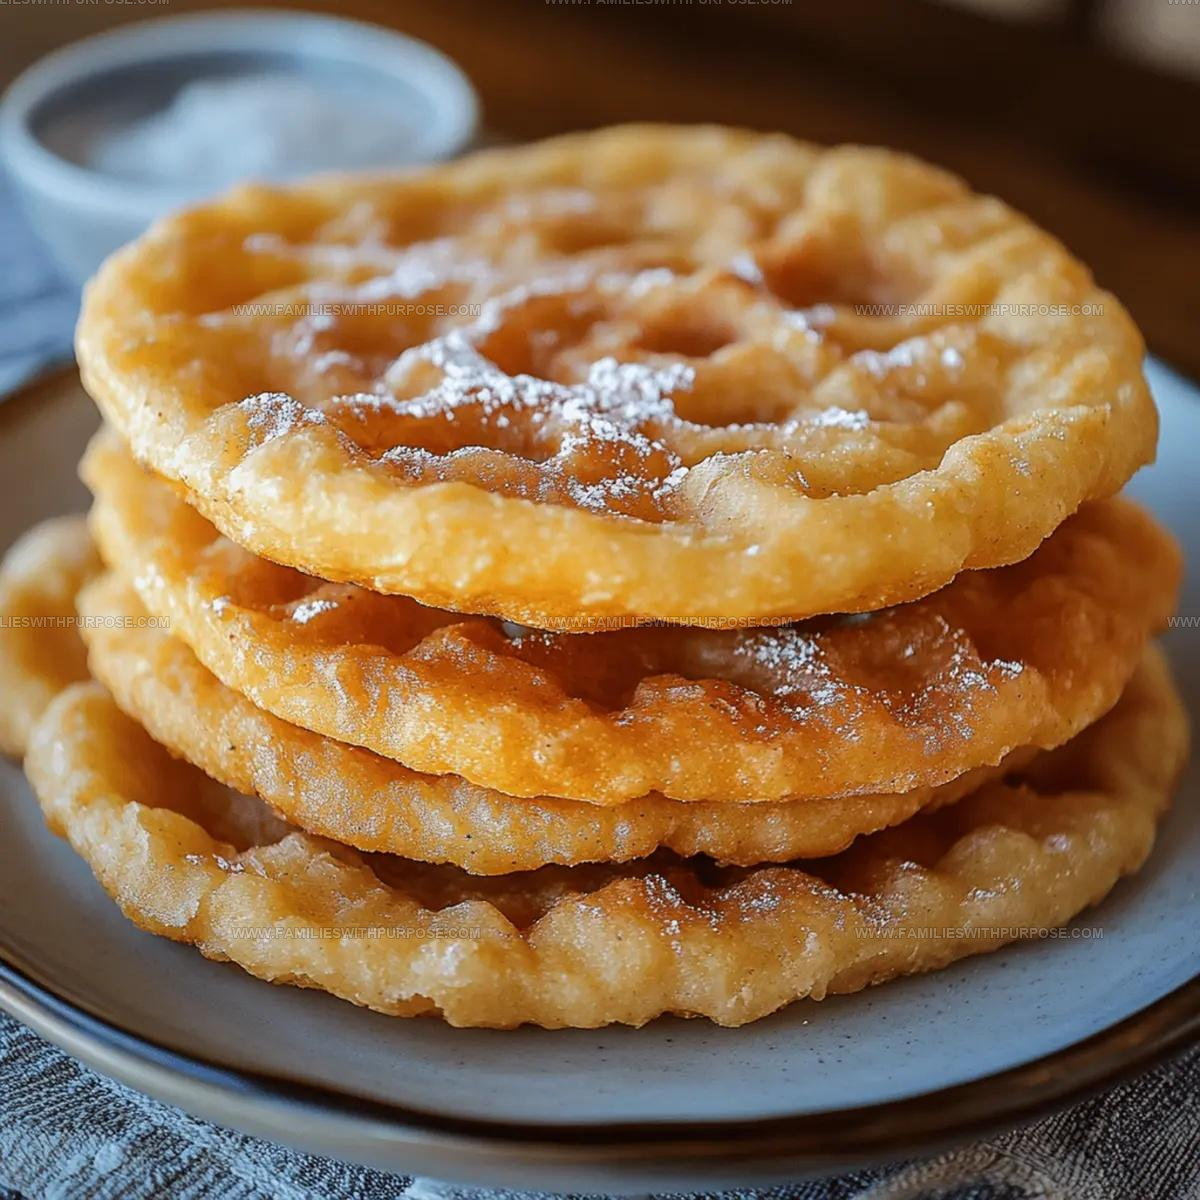
Navajo Fry Bread is a crispy, golden treasure that brings warmth from Native American kitchens straight to your table. Perfectly golden and pillowy, this bread serves as a delicious canvas for savory toppings or sweet dusting of powdered sugar.
Ingredients
Main Ingredients:
- 4 cups all-purpose flour
- 2 cups oil
- 2.5 cups warm milk
Supporting Ingredients:
- 3 tablespoons baking powder
- 2 teaspoons salt
Instructions
- Heat 2 cups of vegetable oil in a deep fryer or large saucepan to precisely 375°F, creating the perfect frying environment for your bread.
- Grab a spacious mixing bowl and thoroughly combine 4 cups of all-purpose flour, 3 tablespoons of baking powder, and 2 teaspoons of salt with a whisk.
- Pour 2½ cups of warm milk into your flour mixture, stirring until the ingredients transform into a soft, cohesive dough that feels smooth under your hands.
- Separate the dough into eighteen spherical shapes, each measuring about 2 inches in diameter, then gently press them into rounds approximately ½ inch thick.
- Carefully lower 3-4 dough rounds into the hot oil, allowing them to sizzle and develop a golden-brown exterior for 2-3 minutes on each side.
- Remove the fried bread with a slotted spoon and place them on a paper towel-lined plate, letting excess oil drain away and ensuring a crisp, non-greasy texture.
Notes
- Check the oil temperature carefully with a thermometer to ensure consistent, crispy frying without burning the bread.
- Work with slightly warm milk to help create a softer, more tender dough texture that’s easier to shape.
- For gluten-free adaptation, swap all-purpose flour with a cup-for-cup gluten-free blend to maintain similar consistency.
- Salt can be reduced for low-sodium diets, but don’t eliminate it completely as it helps develop flavor in the bread.
- Prep Time: 15 minutes
- Cook Time: 10-12 minutes
- Category: Fried
- Method: Frying
- Cuisine: Native American
Nutrition
- Serving Size: 8
- Calories: 337
- Sugar: 0.3 g
- Sodium: 423 mg
- Fat: 6.7 g
- Saturated Fat: 0.9 g
- Unsaturated Fat: 5.8 g
- Trans Fat: 0 g
- Carbohydrates: 64 g
- Fiber: 2 g
- Protein: 6 g
- Cholesterol: 5 mg
Mason Carter
Founder
Expertise
Family Meal Routines, Simple One-pot Meals, Budget-friendly Cooking, Quick Dinner Planning, Batch Cooking Systems
Education
- Certificate: Culinary Arts
- Focus: Training in core cooking techniques, kitchen operations, and real food preparation through hands-on experience in professional-style kitchens.
Penn Foster Career School (Online)Mason is the founder of Families With Purpose and the heart behind its simple, family-focused recipes. Based in Greenville, South Carolina, he creates meals that fit into busy routines and bring people back to the table. He focuses on easy dinners, one-pot meals, budget-friendly cooking, and practical weekly meal planning. Mason has built a recipe collection shaped by real family life, with clear methods and repeatable meals that work on everyday schedules.